Flame Thrower Text V1.0
This setup guide from www.3dnames.co will guide you through how you can create the following Flame Thrower Text using our Blender file.
We have designed this download file to be used by anyone, and you do not have to have any knowledge of using Blender as long as you follow this step by step guide.
We have made this guide interactive, with checkboxes to tick off at each step, so you can keep track of your progress.
Happy Animating!
Video Previews
Create these animations with any text you like using our Blender file and this guide!
Need help? Chat to us on our Discord Channel
Join our DiscordYou will need Blender Installed...
Please make sure you have Blender v4.0.1 installed on your computer, you can download it for free from https://www.blender.org/download/releases/4-0/ - this file was made using Blender v4.0.1
Interactive Guide - toggle the switch on each step to mark it as completed!
Steps quick overview
1. Open Blender File
Mark as completedDownload the ZIP file, extract it somewhere and open up the FlameThrowerV1.0.blend file in Blender, we recommend using version Blender 4.0.1 or higher.
2. Launch the 3D Names Panel
Mark as completedWhen you open the file - all you need to do is press the small play icon ▷ at the top - then in the 3D Viewport there will be a new Panel called "3D Names" - this contains all of the setup scripts to make this files effect work.
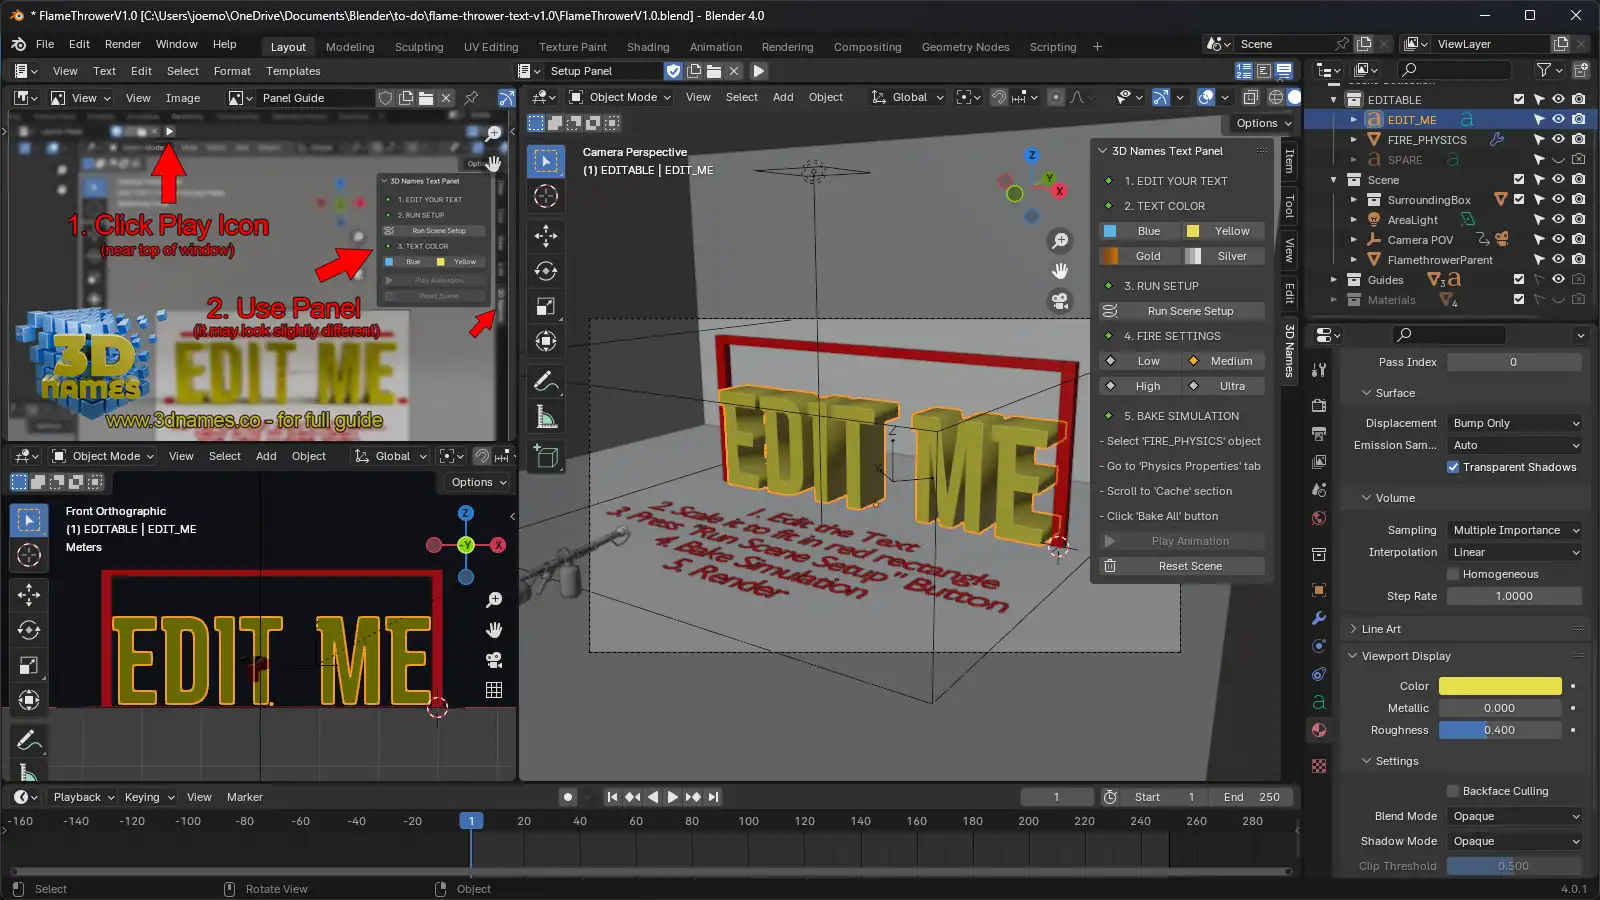
As you can see above this is the new Panel that does all the hard work for us!
3. Edit your text
Mark as completedClick the "EDIT ME" text in the viewport and press the "Tab" key on your keyboard to enter edit mode. Now you can type your own text, then press the "Tab" key again to exit edit mode. Use the "S" key on your keyboard to scale the text to the size you want. You can also use the "G" key to move the text around. Make sure it fits within the Red rectangle.
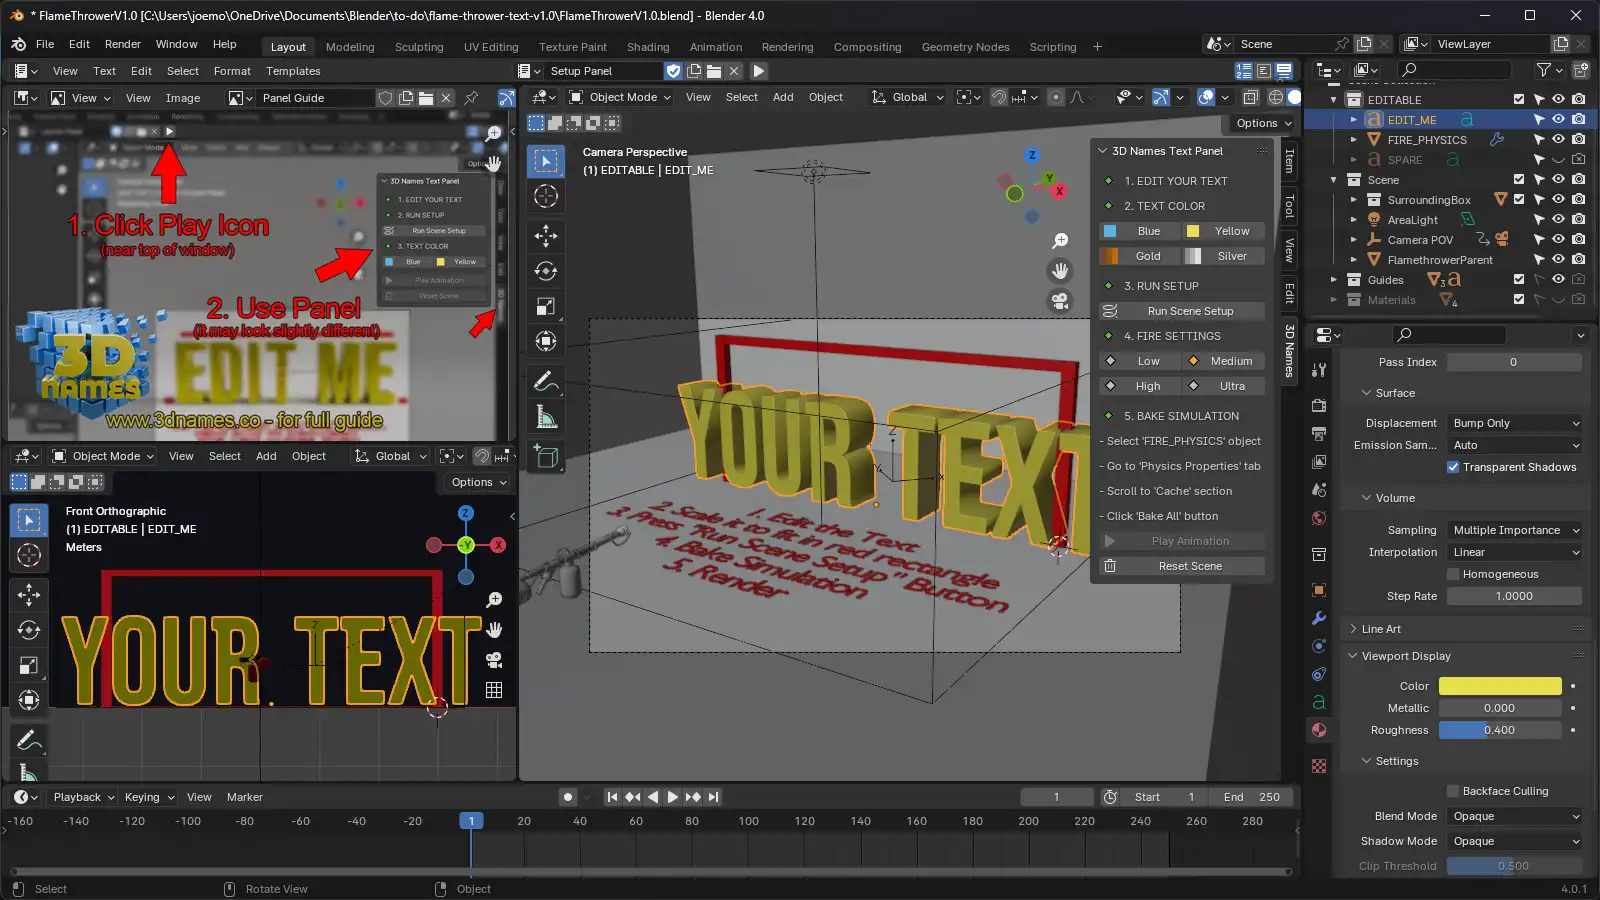
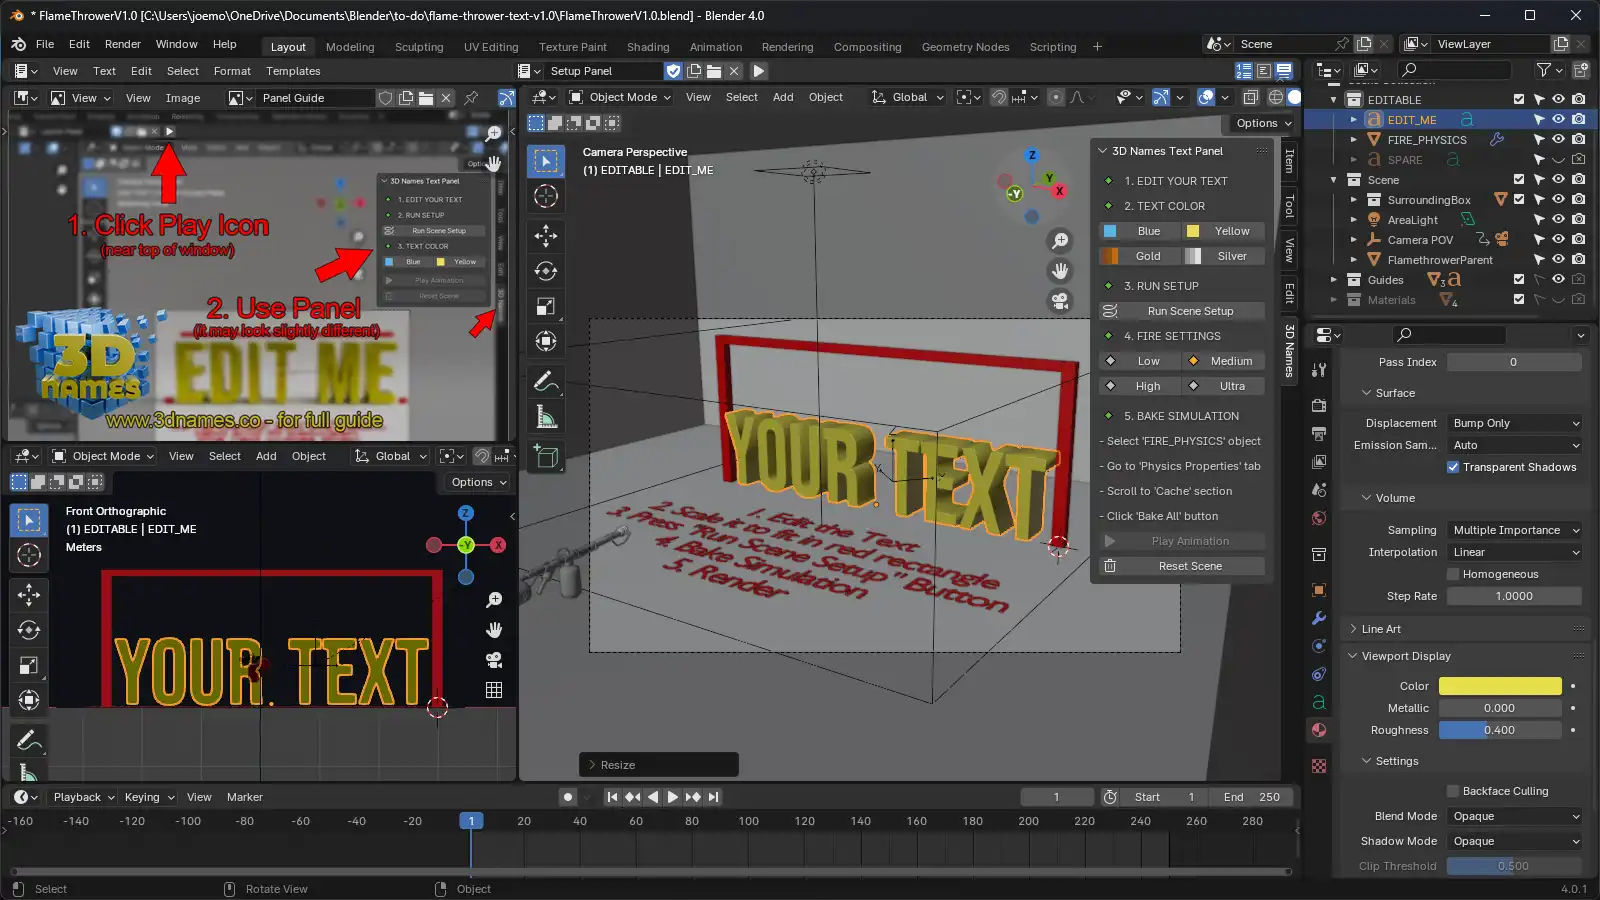
Make sure your text fits within the red rectangle!
4. Run Scene Setup
Mark as completedOnce you have edited your text you now need to press the "Run Scene Setup" button in the 3D Names Panel. This will convert your text into a Physics based object and set up the scene for you. The gun will be moved up or down to be centered with your text automatically, and the red guides will also be removed
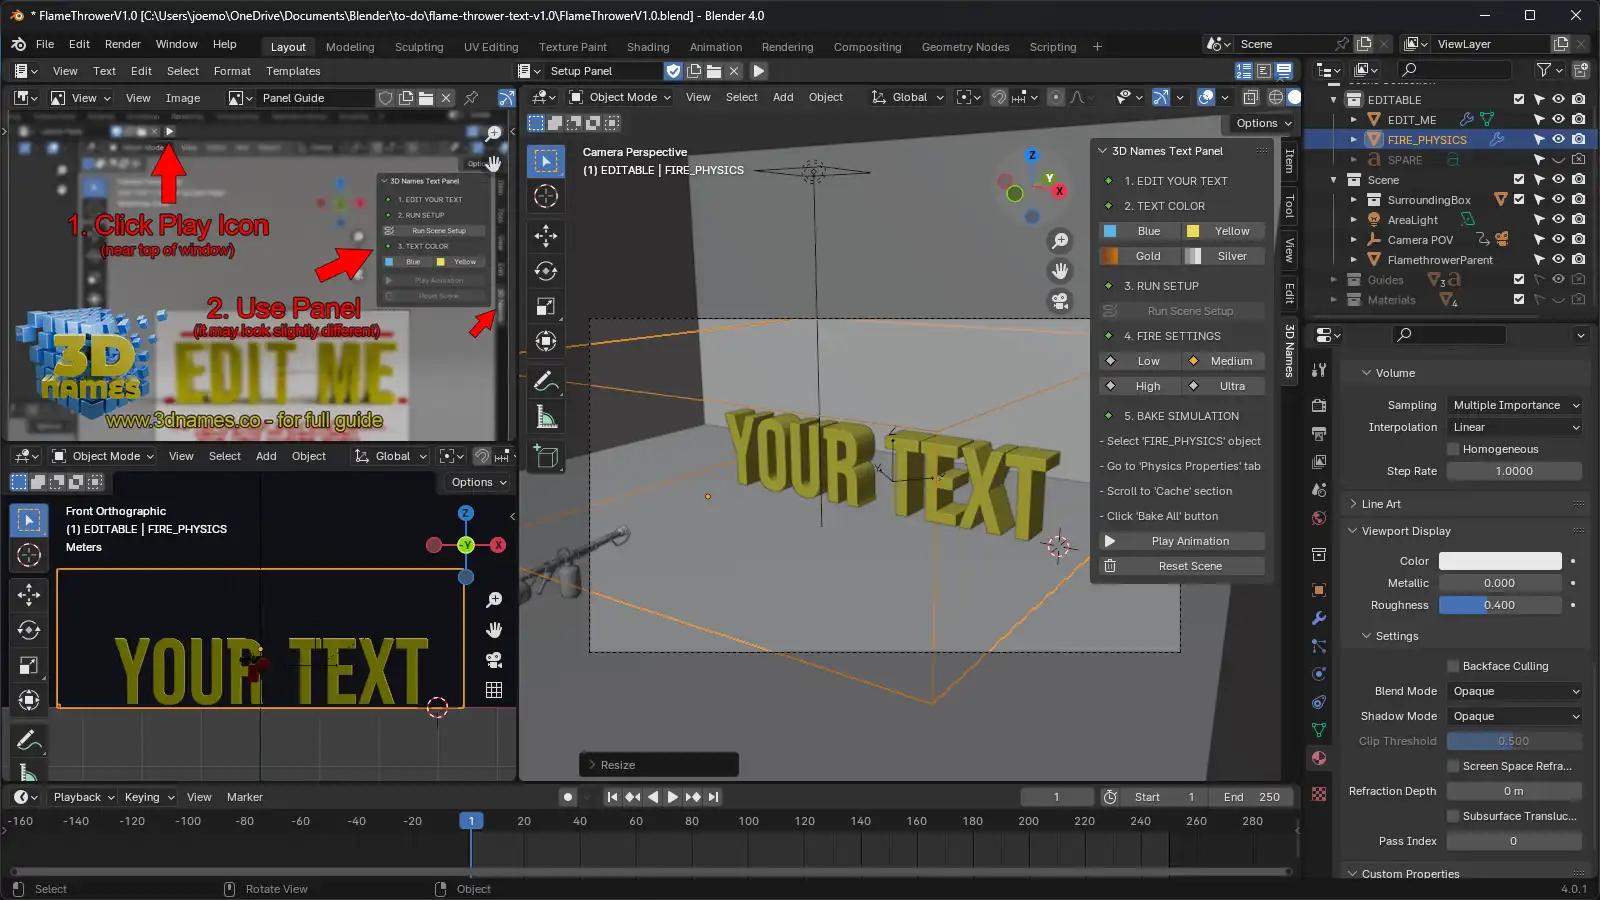
5. Baking the simulation
Mark as completedYou will notice there are 4 buttons with Low, Medium, High and Ultra - these will set the level of detail in the fire and smoke, the higher the detail the longer it will take to simulate, so we recommend trying with the low setting first. To run the "baking" you will need to make sure the "FIRE_PHYSICS" object is selected, then open the Physics Properites panel on the right, then scroll down until you see the "Bake All" button - pressing it will start baking your simulation data this can anywhere from 5 minutes on the low setting to several hours using the Ultra setting. Once the baking is complete you will see the fire and smoke in the viewport.
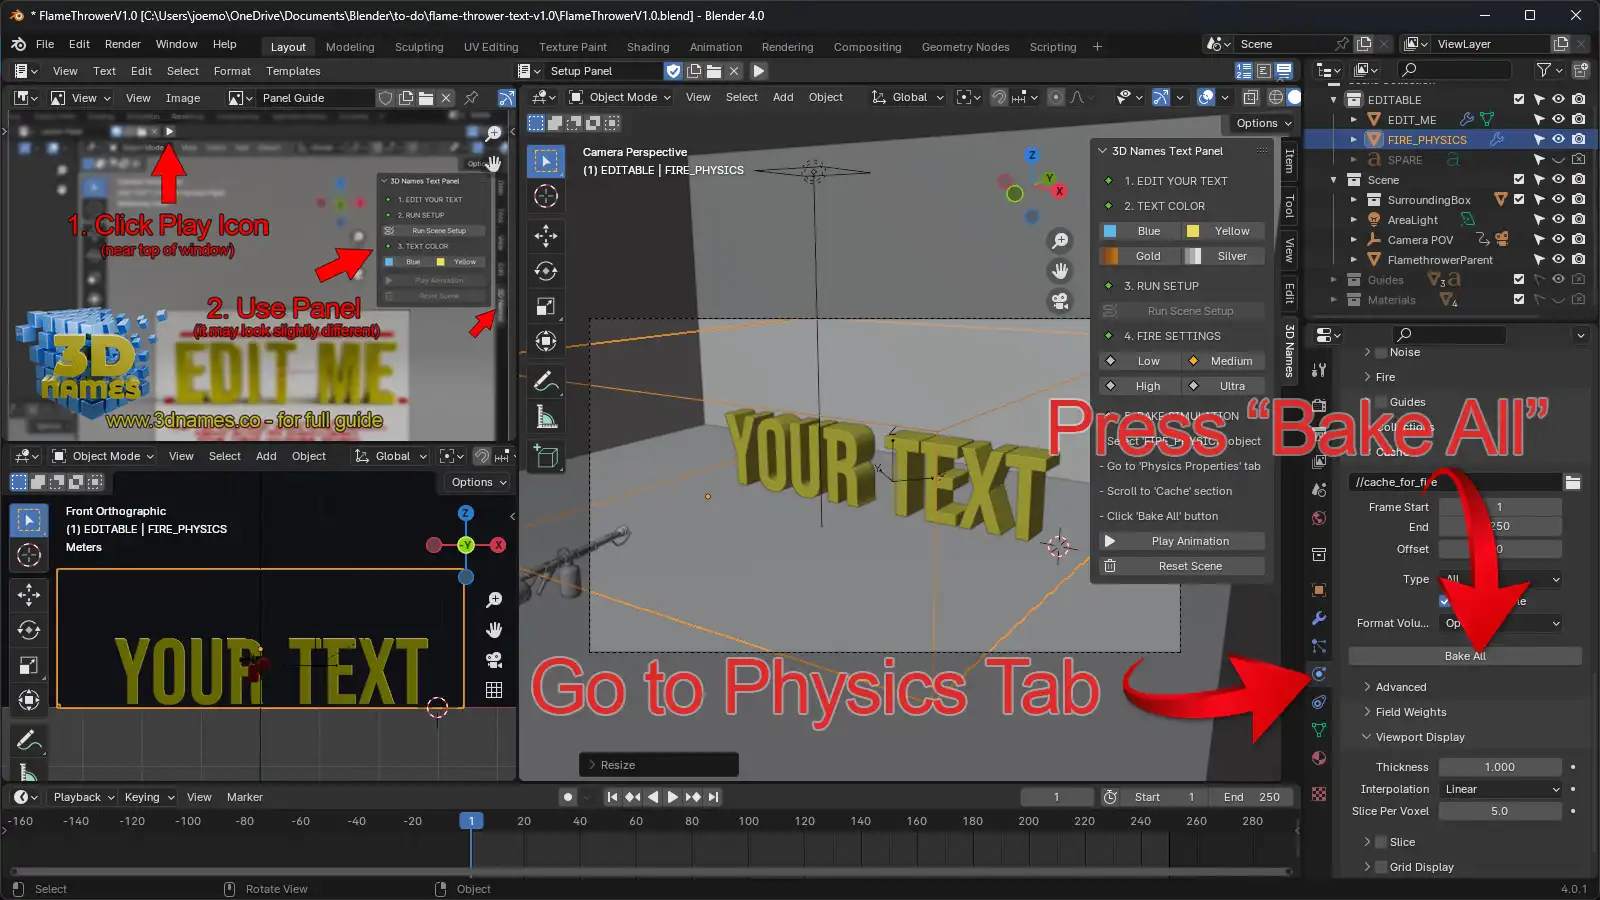
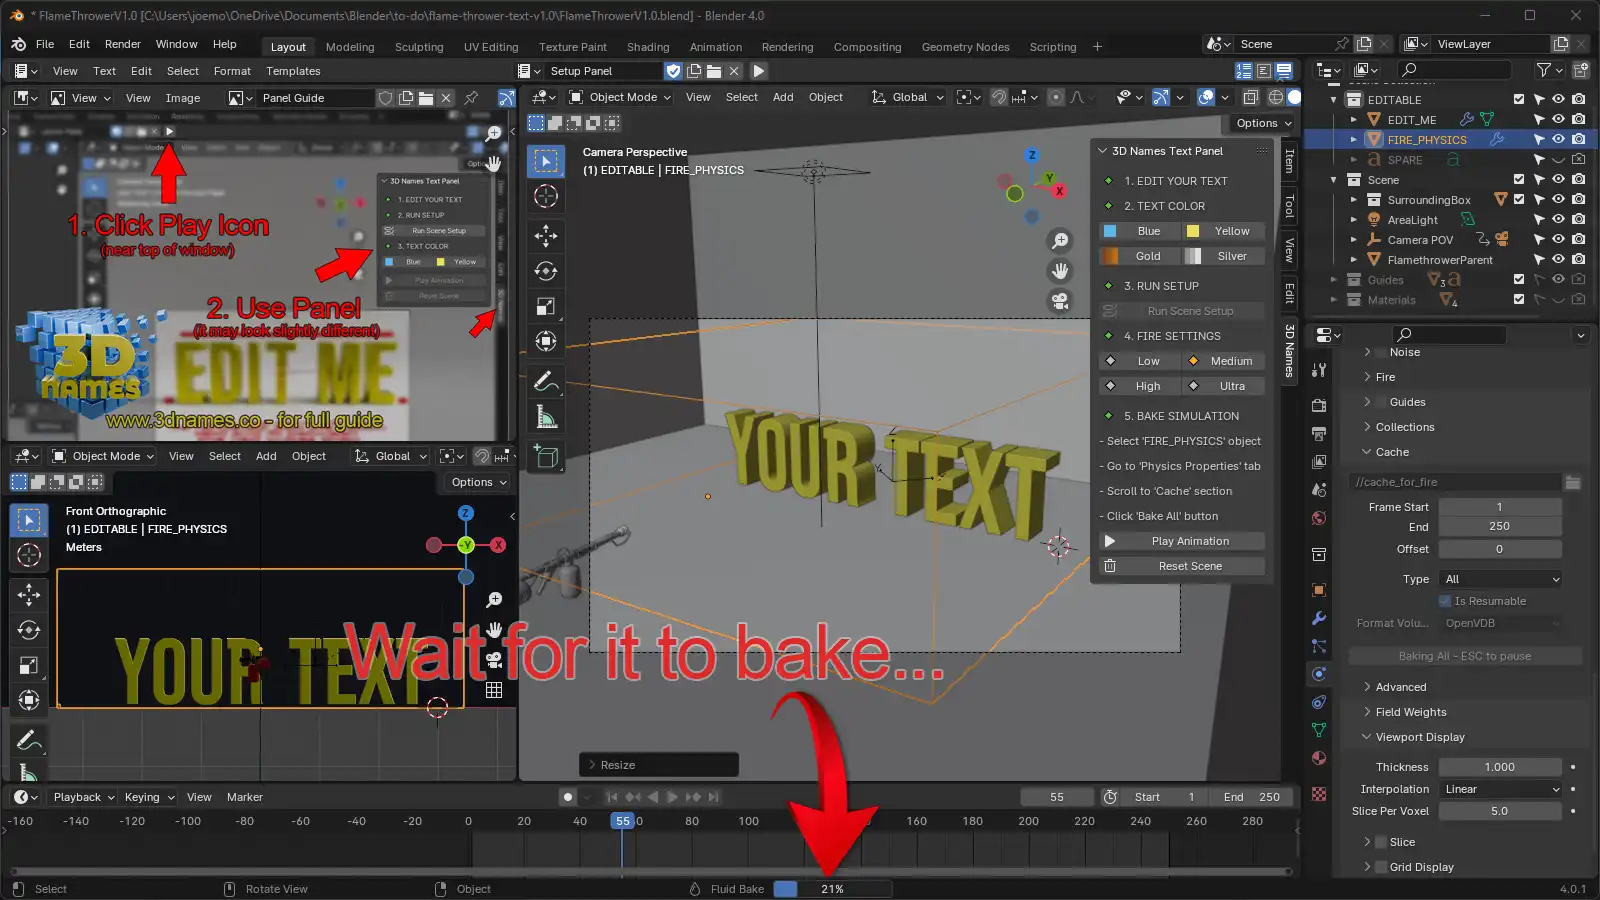
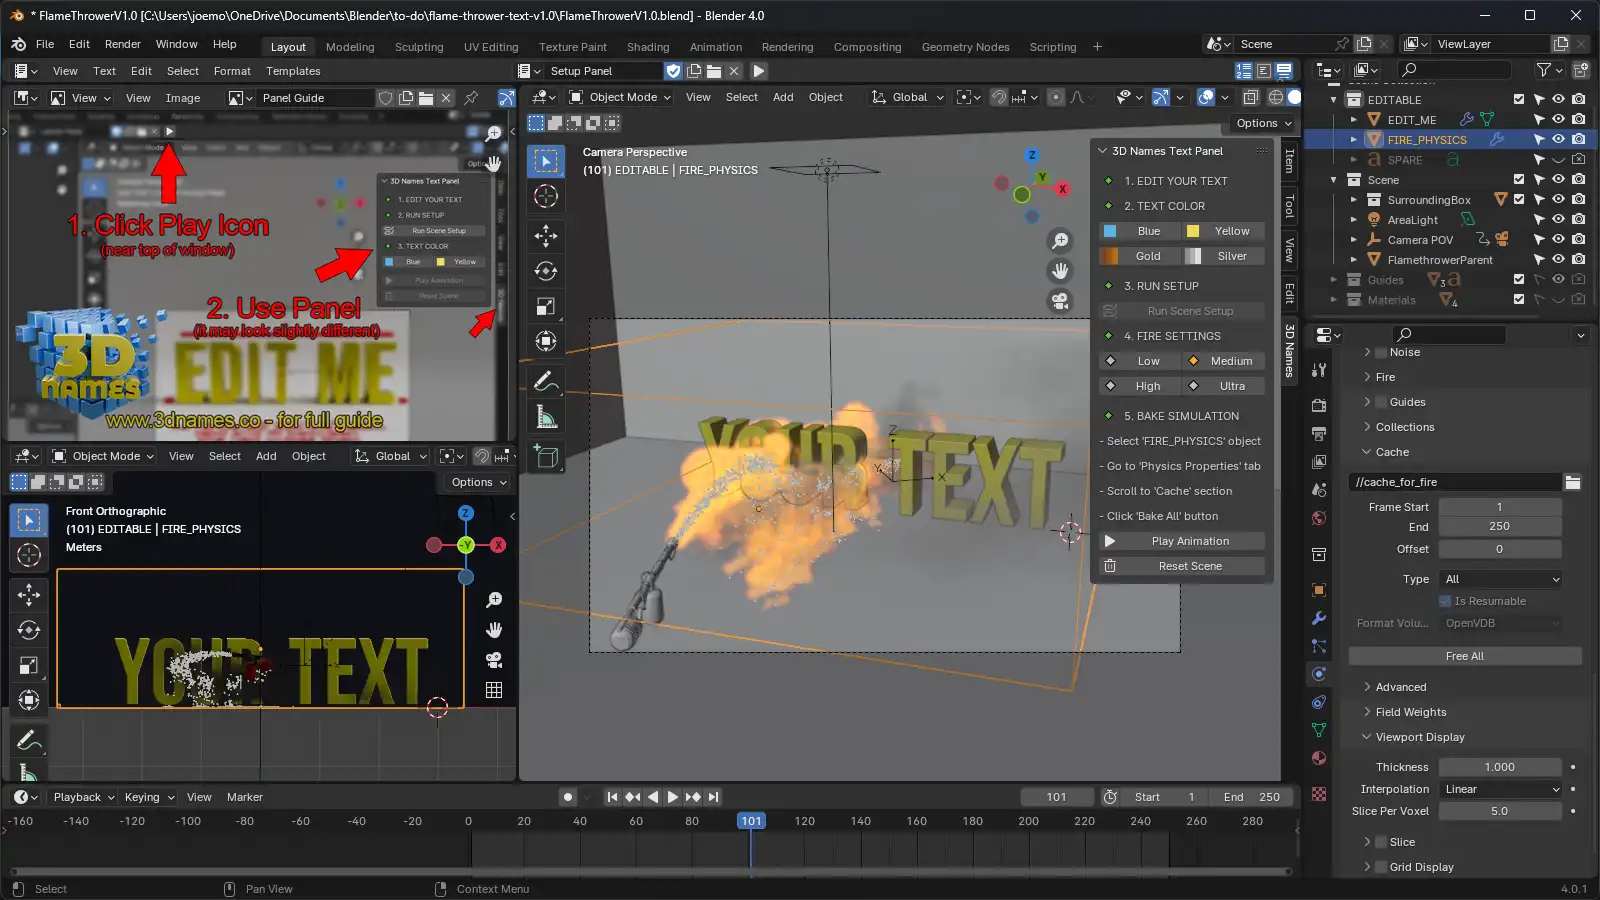
Once it's baked you will see the fire and smoke in the viewport!
6. Rendering
Mark as completedYou can now render your scene by pressing the "F12" key on your keyboard. If you want to render the animation, press "Ctrl + F12" (or "CMD + F12" on Mac) to render the animation. Files will be saved to the "renders" folder in the same directory as the .blend file.
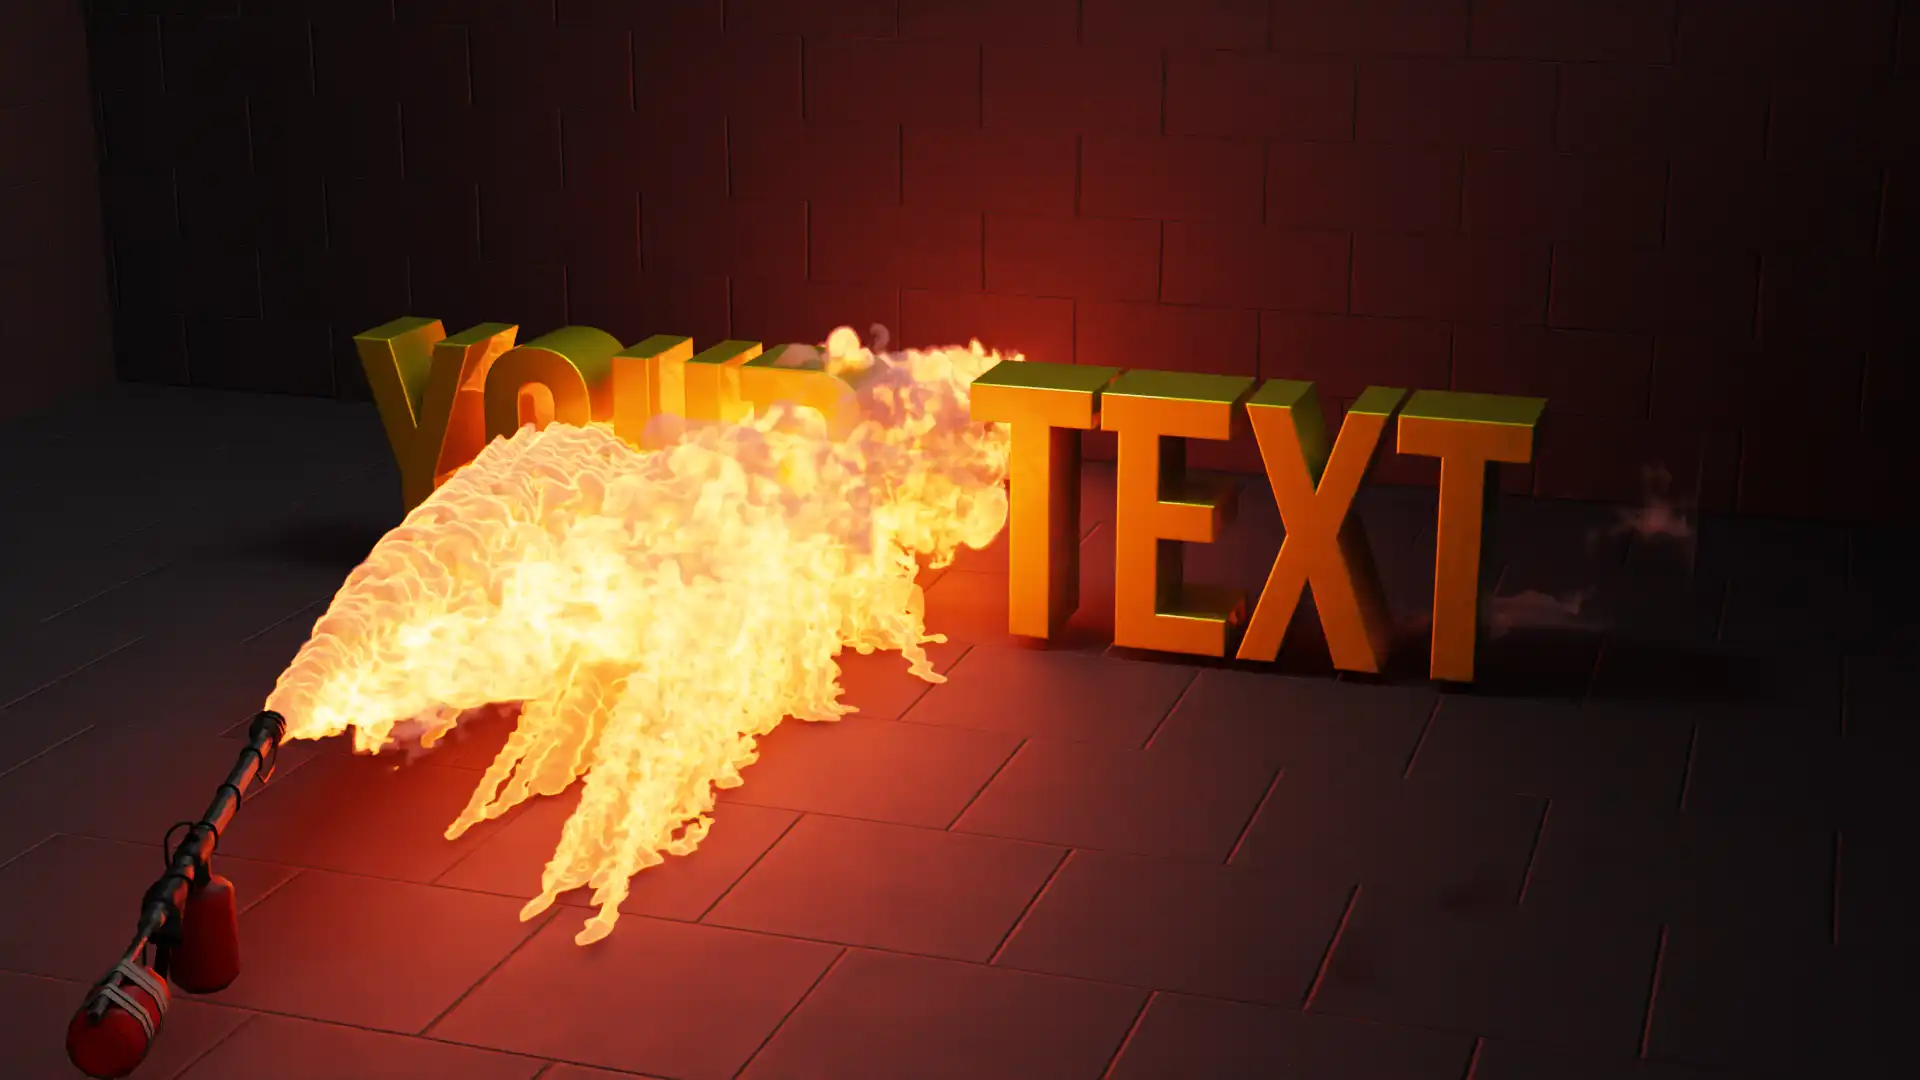
Here is "Your Text" rendered using the Yellow color
7. Optional - Changing colors of the text
Mark as completedIf you wish to change the color of your text, you can do this easily using our 4 buttons, choose from Blue, Yellow, Gold and Silver!
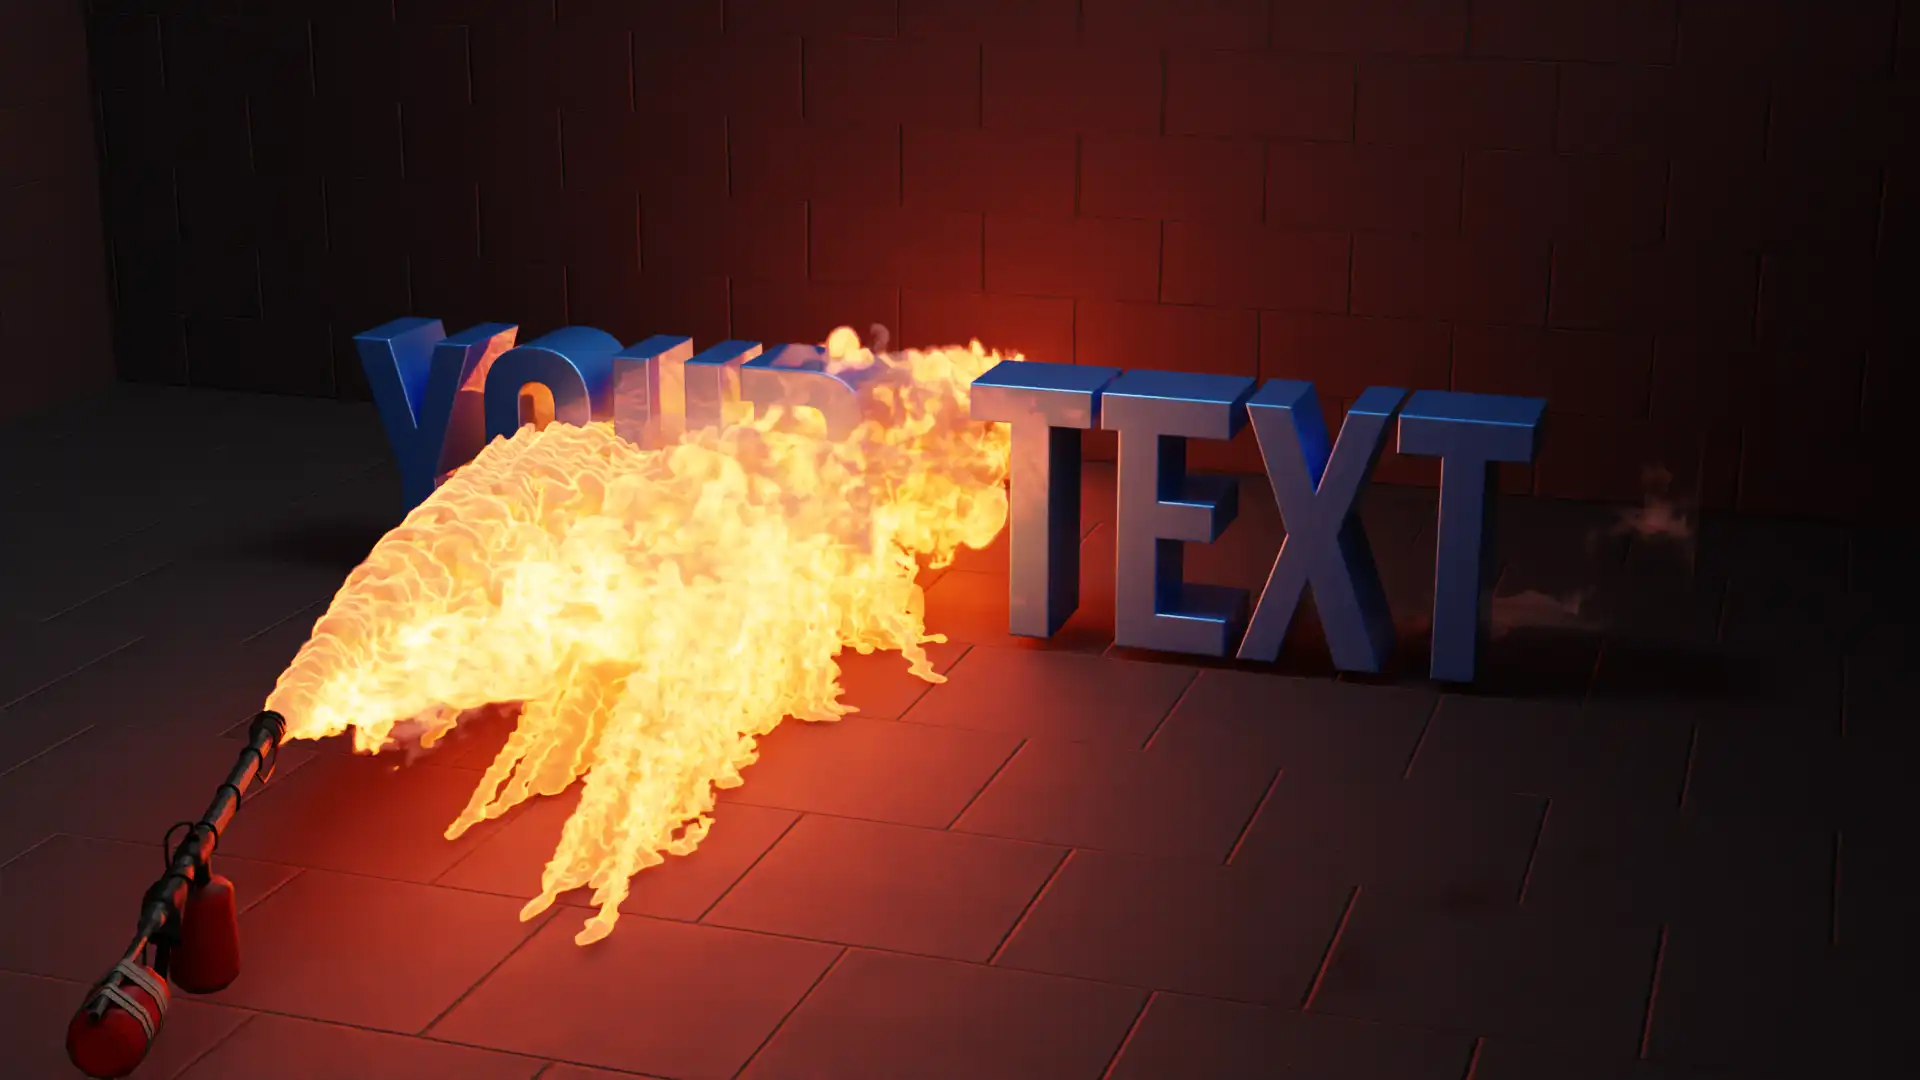
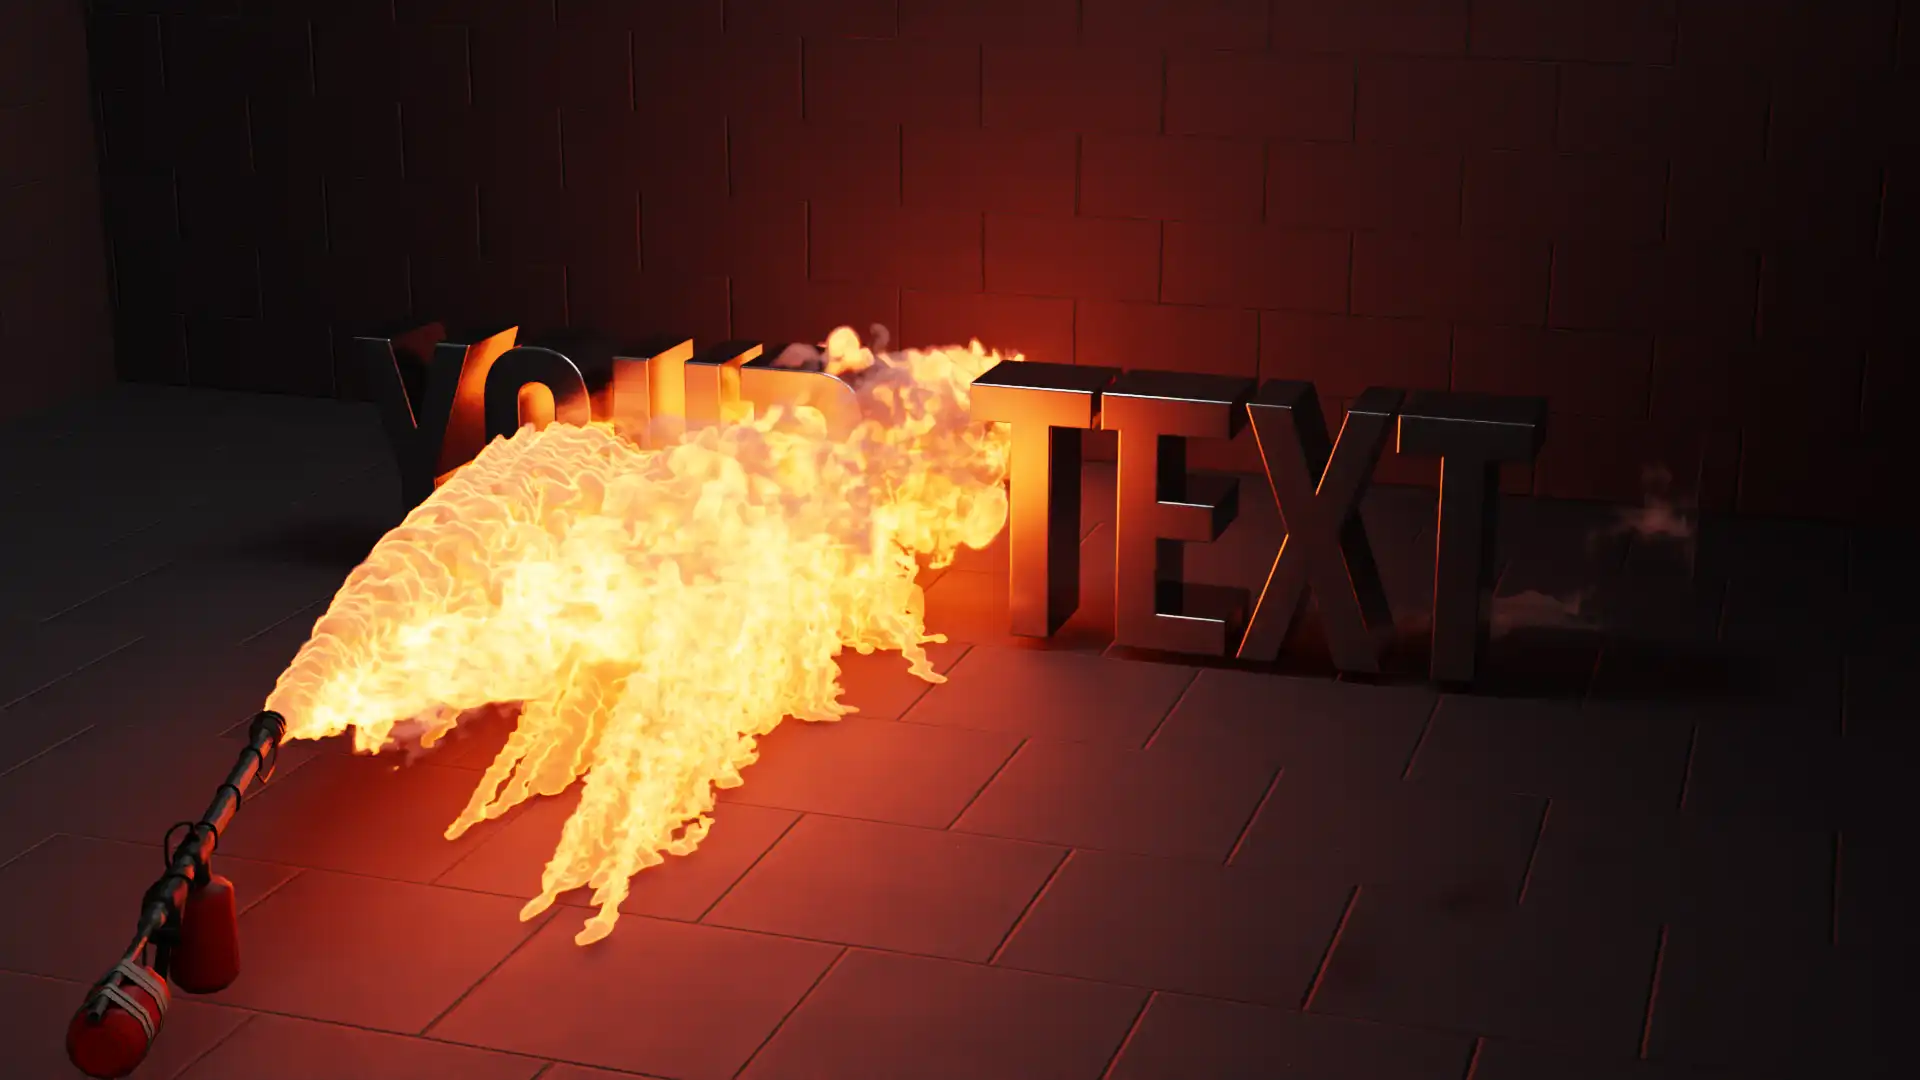
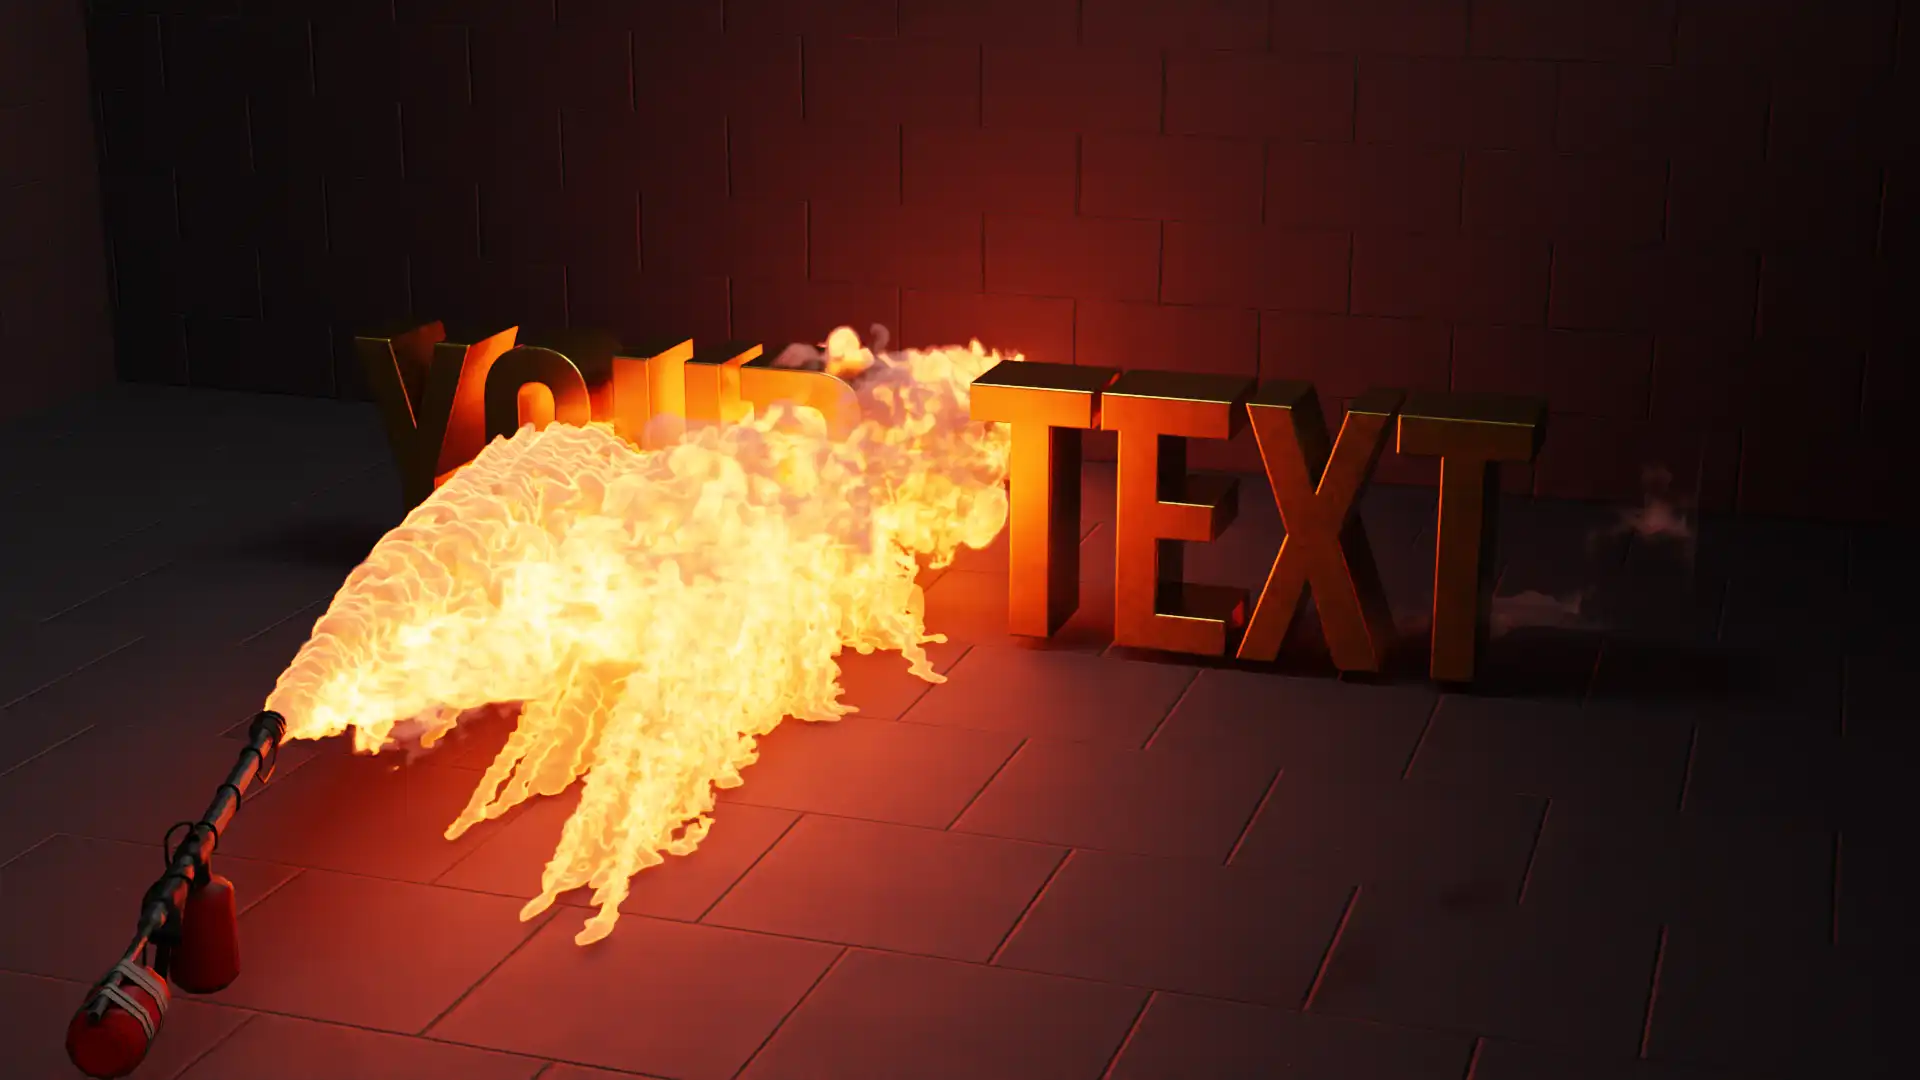
Here is "Your Text" in Blue, Silver & Gold!
Understanding the Fire bake resolutions
As you can see if you use the "Low" setting for your fire simulation it takes way less time to bake (around 2 to 5 minutes), but the fire is way less detailed. The higher you go the longer it takes to bake (and you will need to have enough RAM such as 16GB or more) - but the results are way more detailed. We recommend starting with the "Low" setting and then working your way up to "Ultra" if you have the time and resources.
Turn your PNG frames into a Video
To turn your rendered PNG frames into a video, please take a look at the following Video Render Tool guide

