Embossed Text V1.0
This setup guide from www.3dnames.co will guide you through how you can create the following Embossed Text using our Blender file.
We have designed this download file to be used by anyone, and you do not have to have any knowledge of using Blender as long as you follow this step by step guide.
We have made this guide interactive, with checkboxes to tick off at each step, so you can keep track of your progress.
Happy Animating!
👆 Sped up demonstration of this text effect!
Video Previews
Create these animations with any text you like using our Blender file and this guide!
Need help? Chat to us on our Discord Channel
Join our DiscordYou will need Blender Installed...
Please make sure you have Blender v4.0.1 installed on your computer, you can download it for free from https://www.blender.org/download/releases/4-0/ - this file was made using Blender v4.0.1
Interactive Guide - toggle the switch on each step to mark it as completed!
Steps quick overview
1. Open Blender File
Mark as completedDownload the ZIP file, extract it somewhere and open up the EmbossedTextV1.0.blend file in Blender, we recommend using version Blender 4.0.1 or higher.
2. Launch the 3D Names Panel
Mark as completedWhen you open the file - all you need to do is press the small play icon ▷ at the top - then in the 3D Viewport there will be a new Panel called "3D Names" - this contains all of the setup scripts to make this files effect work.
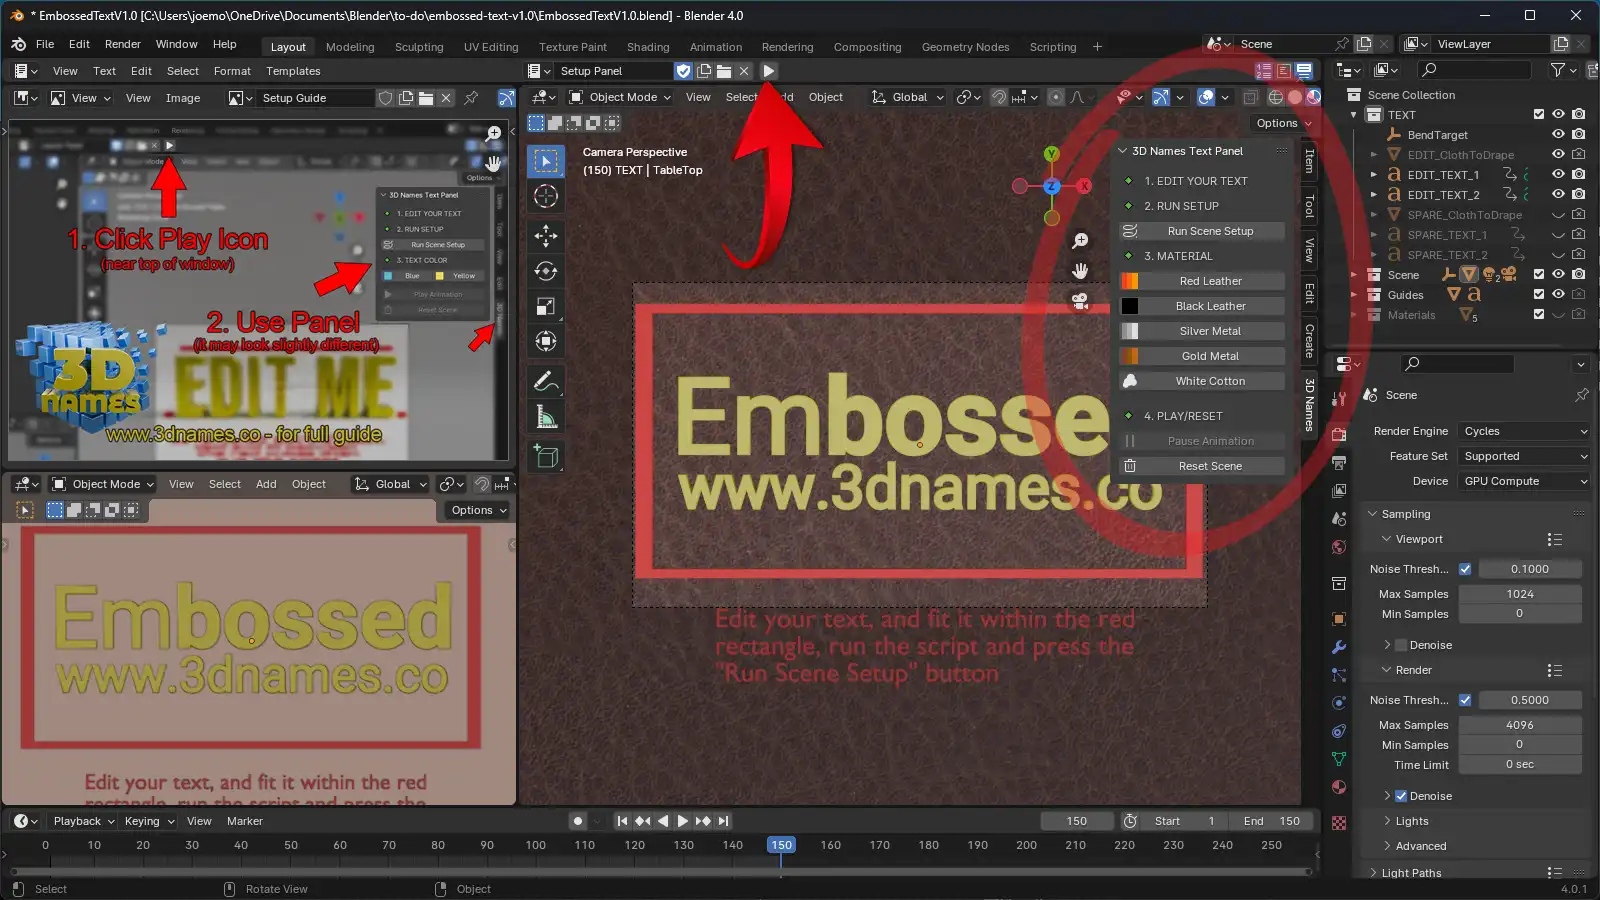
As you can see above this is the new Panel that does all the hard work for us!
3. Edit your text
Mark as completedIn this file there are 2 text objects you can edit in the viewport and press the "Tab" key on your keyboard to enter edit mode. Now you can type your own text, then press the "Tab" key again to exit edit mode. Use the "S" key on your keyboard to scale the text to the size you want. You can also use the "G" key to move the text around. Make sure it fits within the Red rectangle.
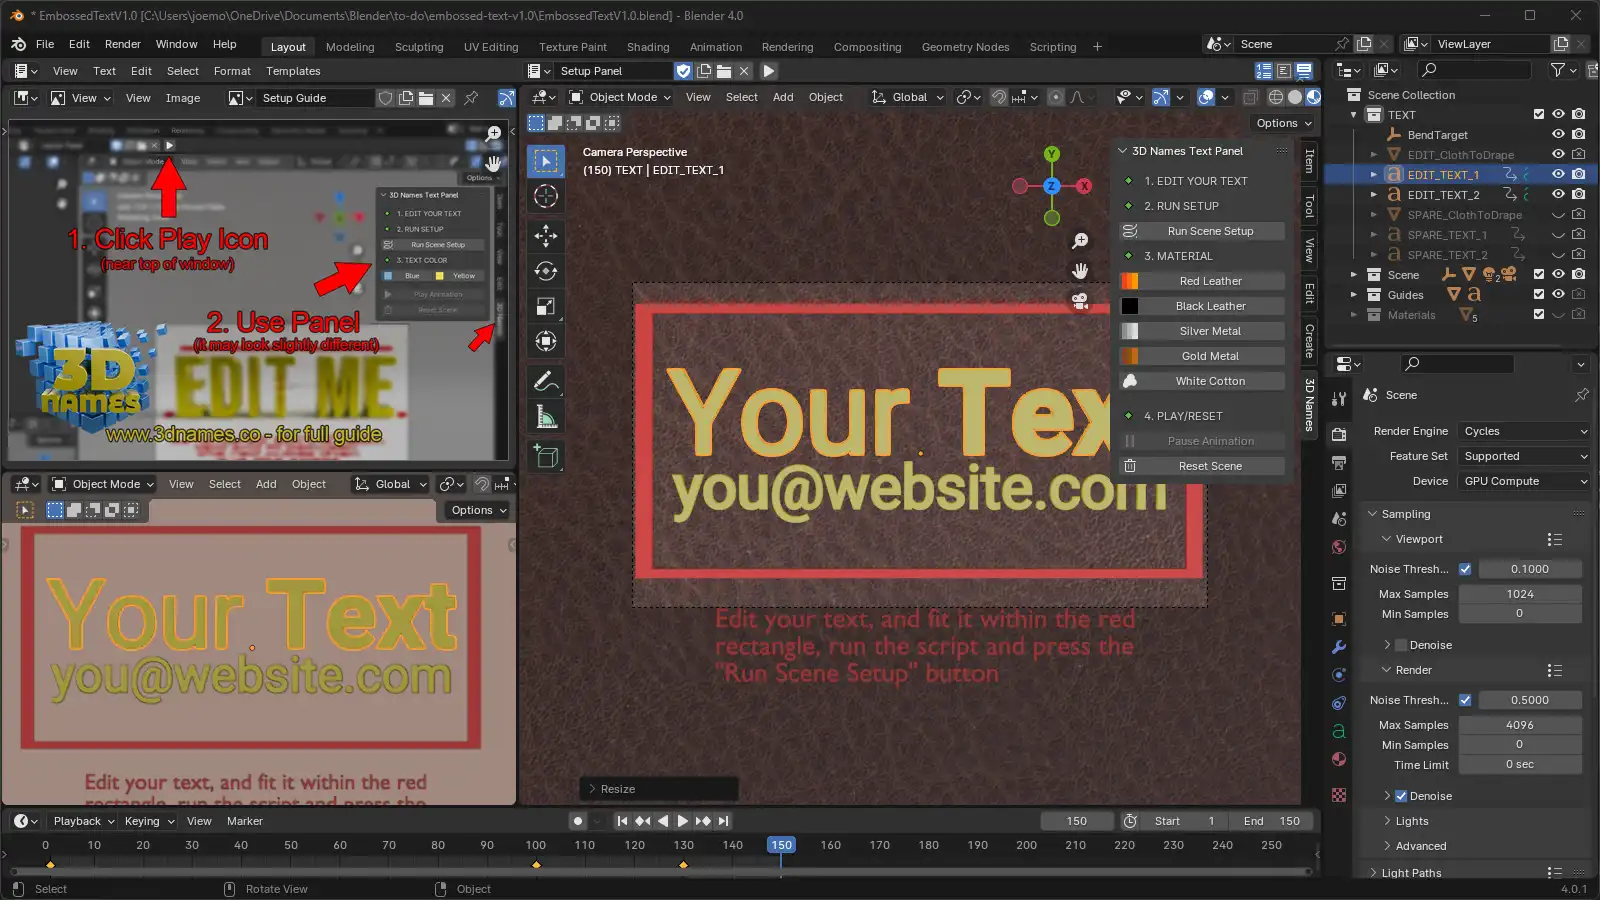
In this example we have edited the top text to say "Your Text", and the 2nd text to say "you@website.com" - you can edit any of these to say whatever you want! If you delete either of them it will still work (do not delete both of them though).
4. Run Scene Setup
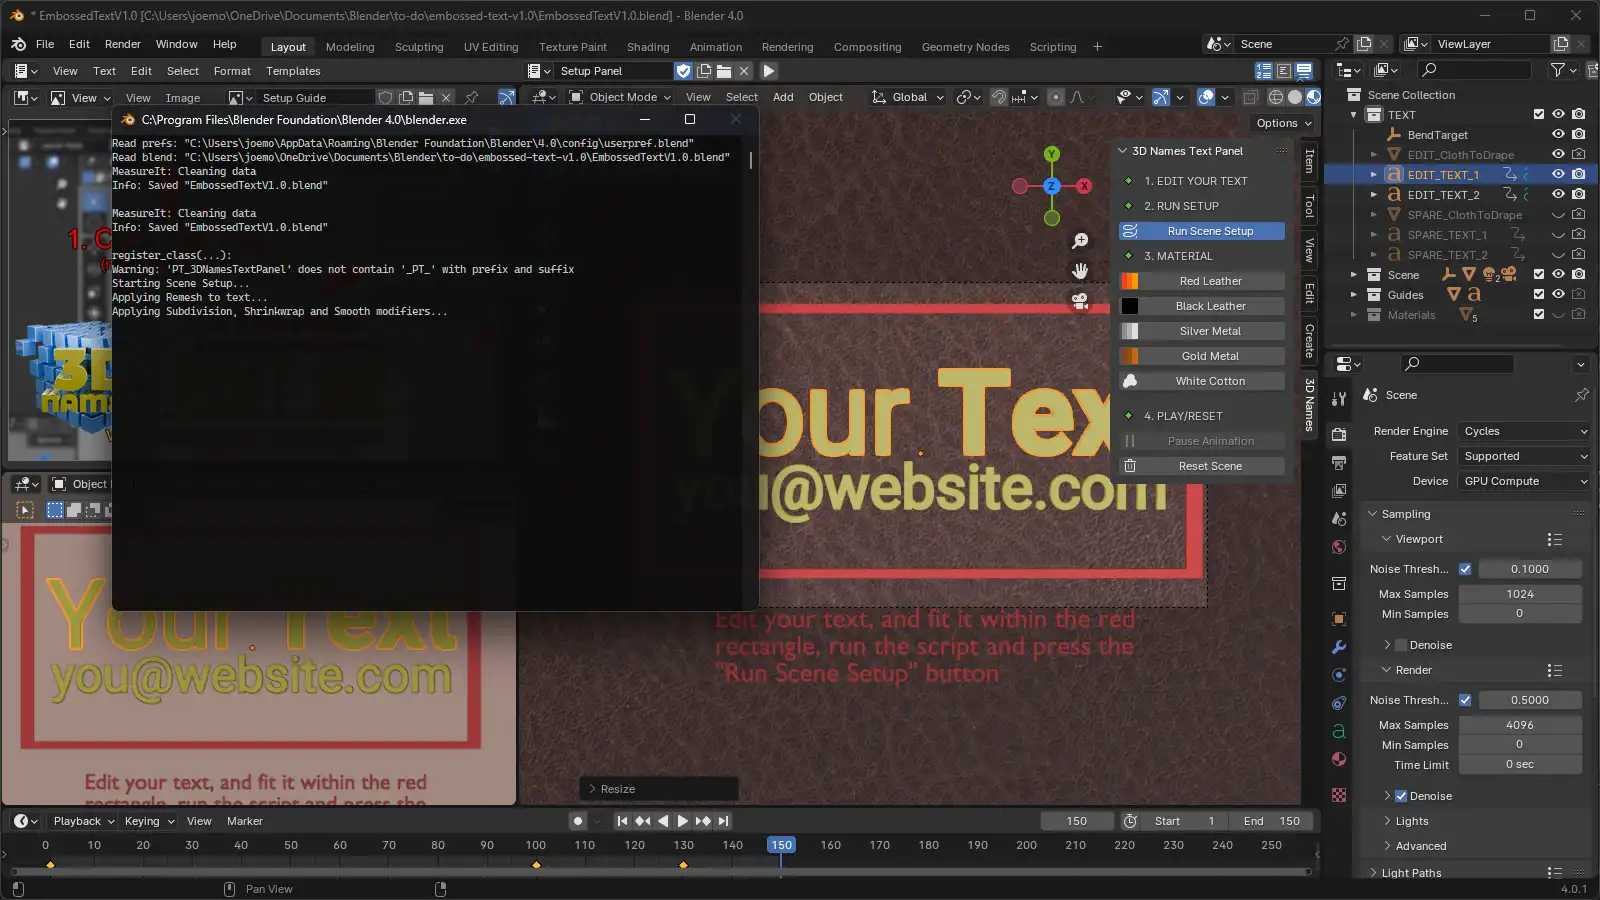
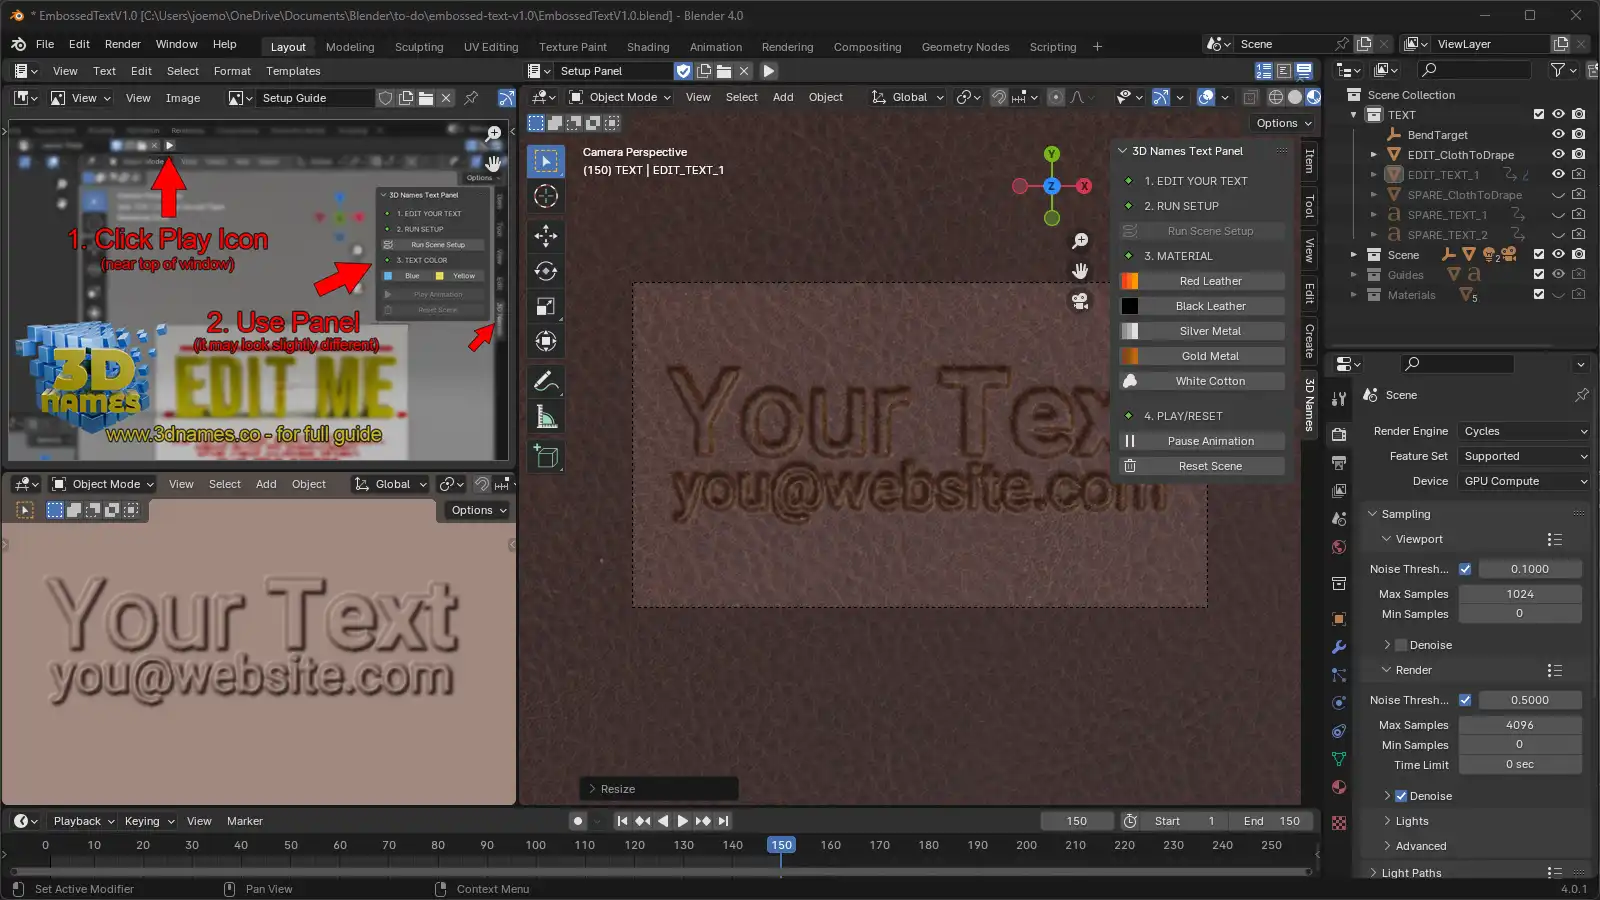
Mark as completedOnce you have edited your text you now need to press the "Run Scene Setup" button in the 3D Names Panel. This part does all of the complicated setup of the shrink-wrapping of the embossed cloth over your text, it will also add the animation to the text. This can take a few seconds to complete. A console window will appear showing you the progress of each step and then close again once finished.
5. Rendering
Mark as completedYou can now render your scene by pressing the "F12" key on your keyboard. If you want to render the animation, press "Ctrl + F12" (or "CMD + F12" on Mac) to render the animation. Files will be saved to the "renders" folder in the same directory as the .blend file.
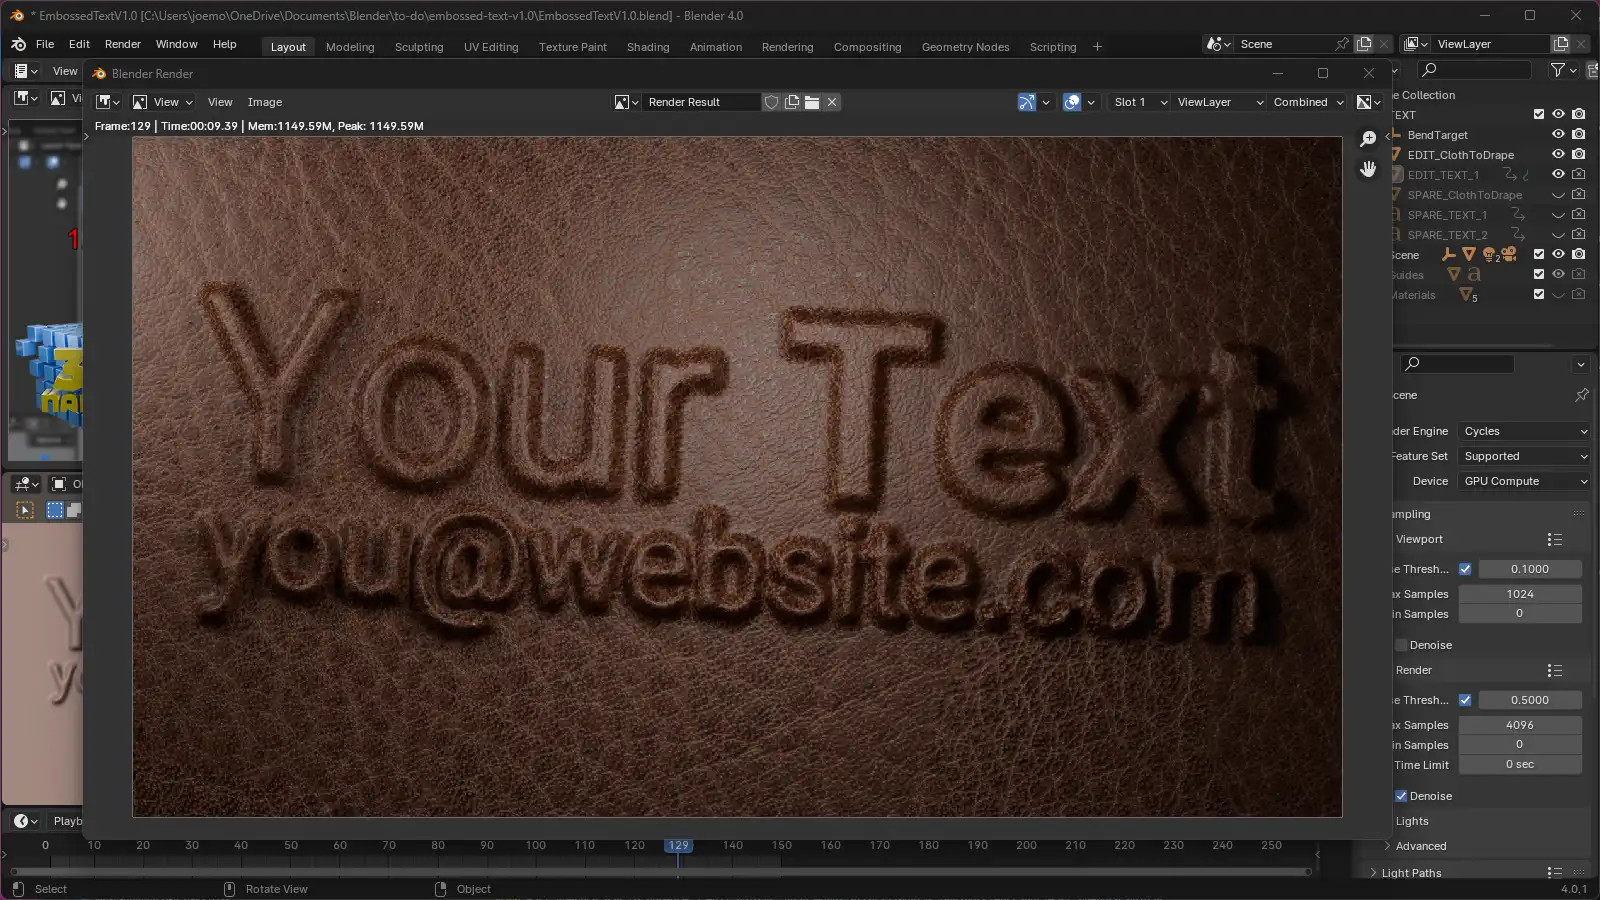
Here is "Your Text" rendered using the default Red Leather texture.
6. Optional - Changing colors of the embossed texture
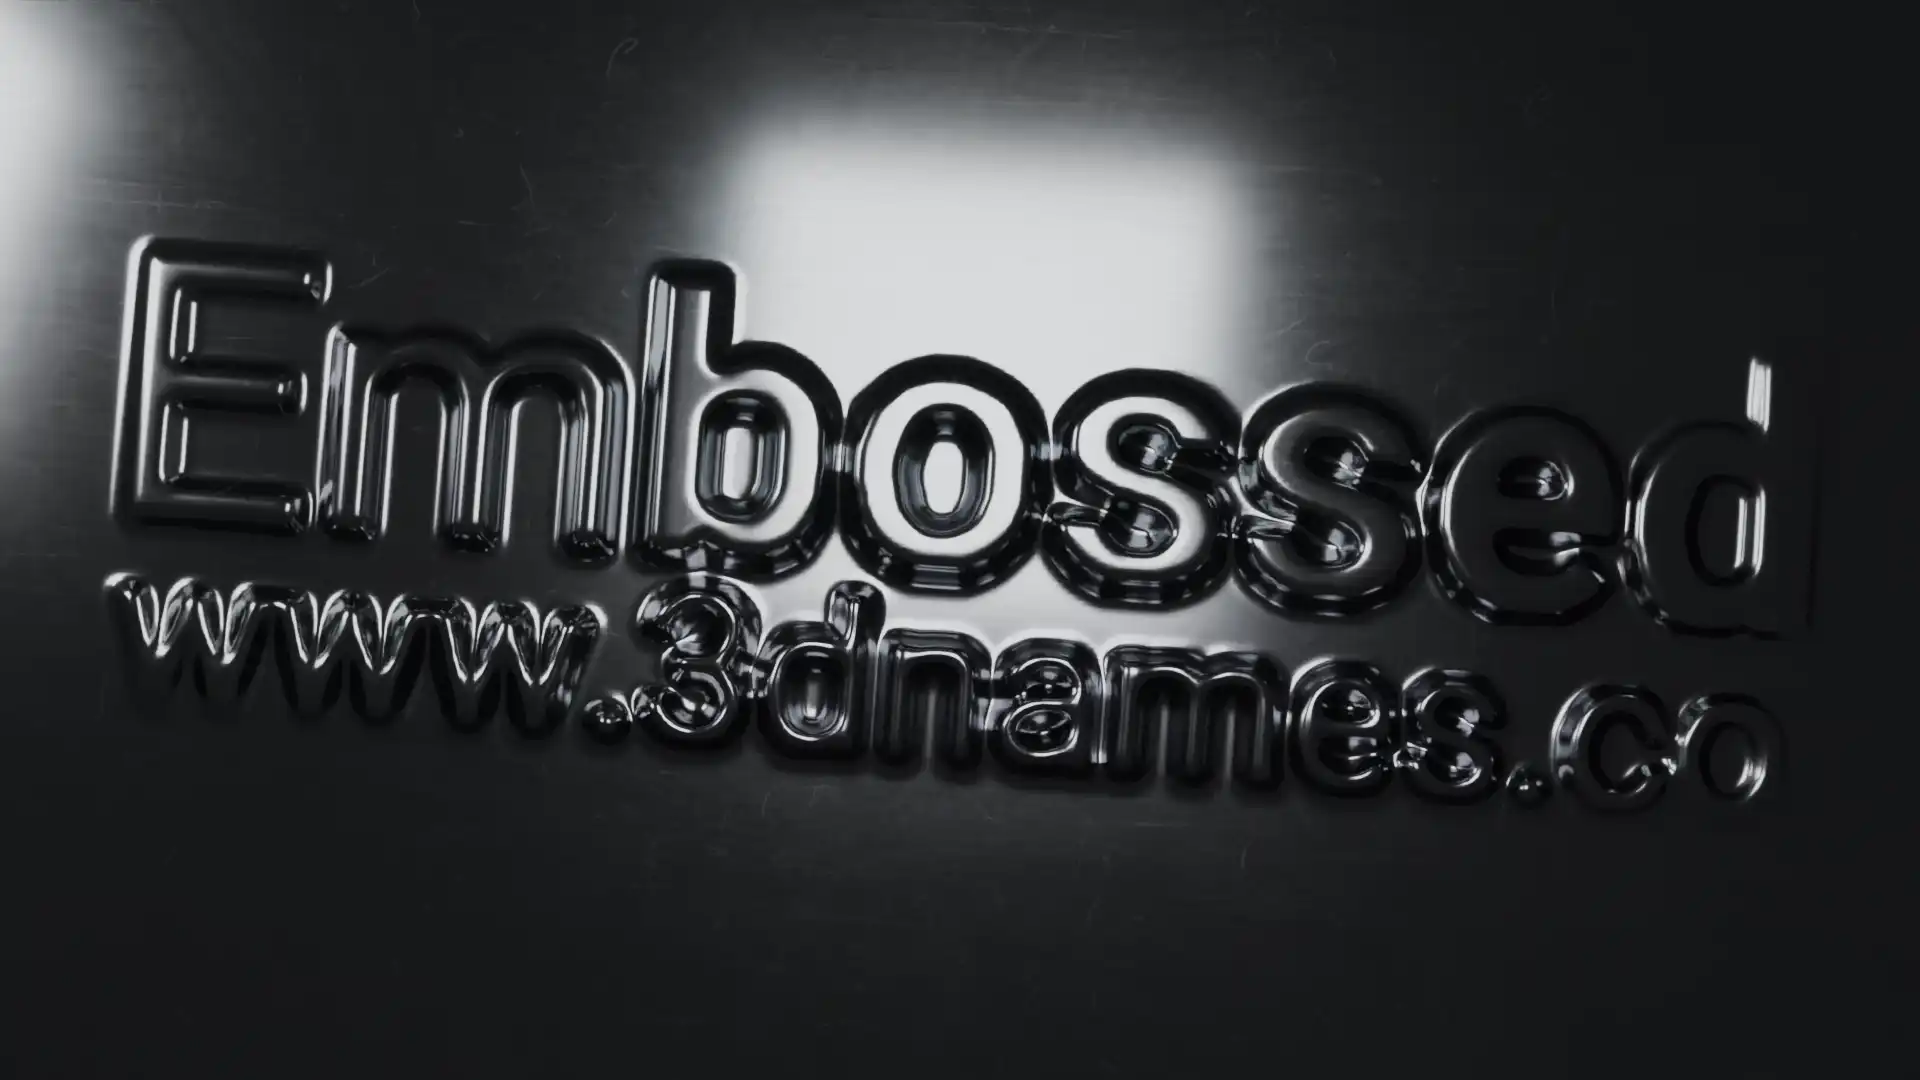
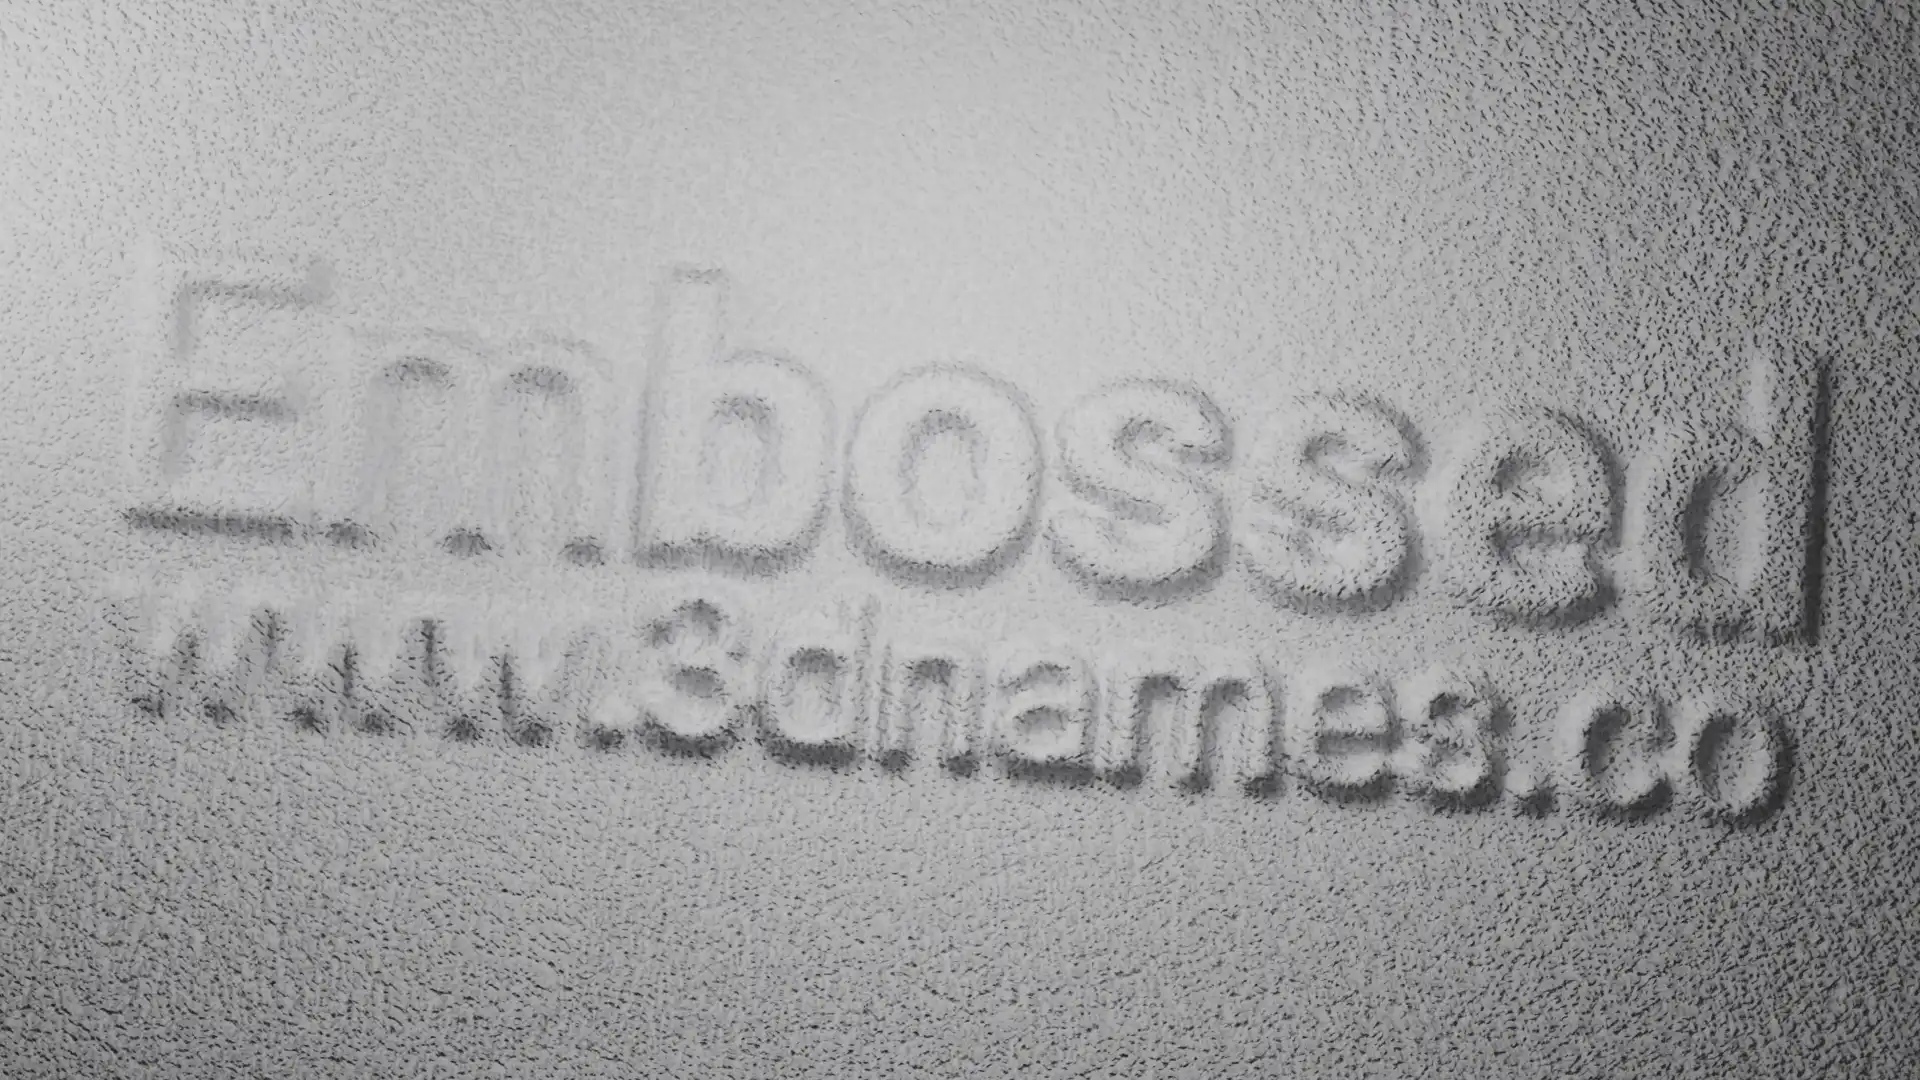
Mark as completedIf you wish to change the look, you can do this easily using our 5 pre-made textures, choose from Red Leather, Black Leather, Gold, Silver or White cotton.
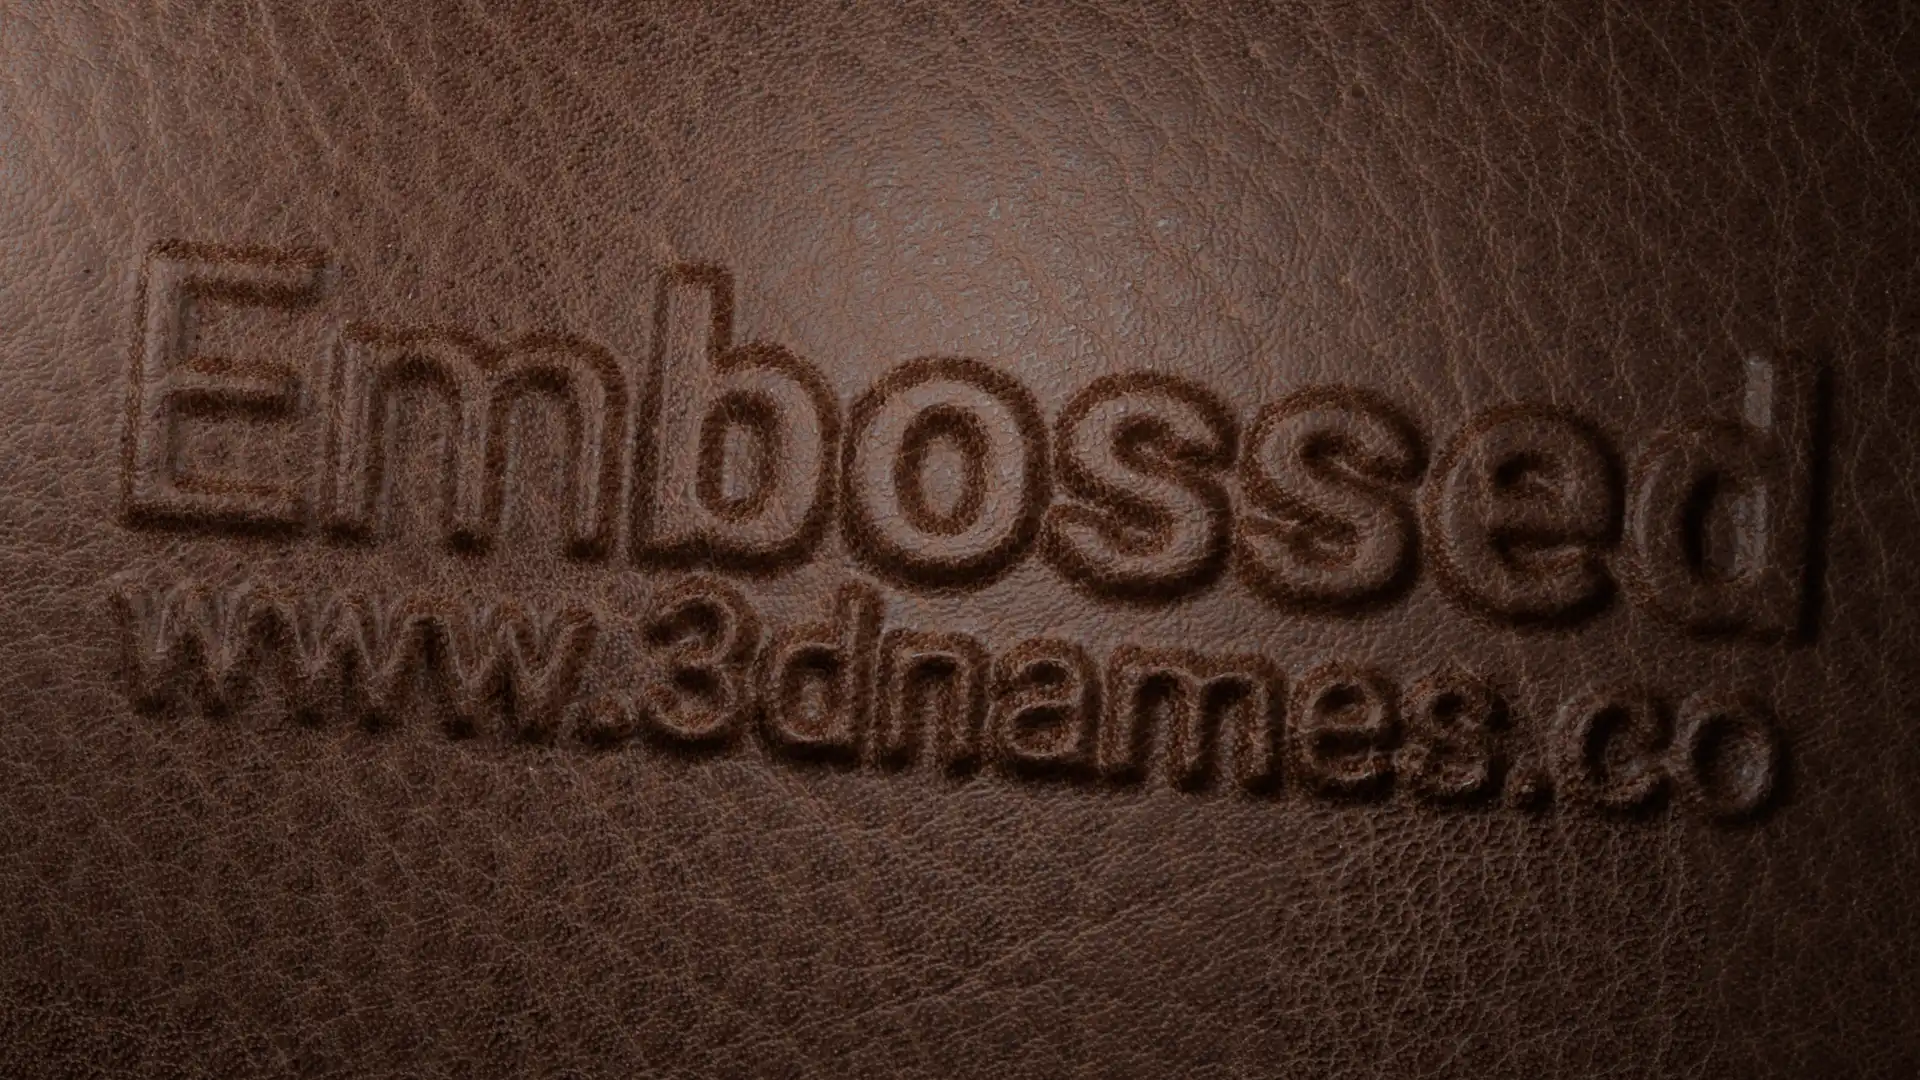
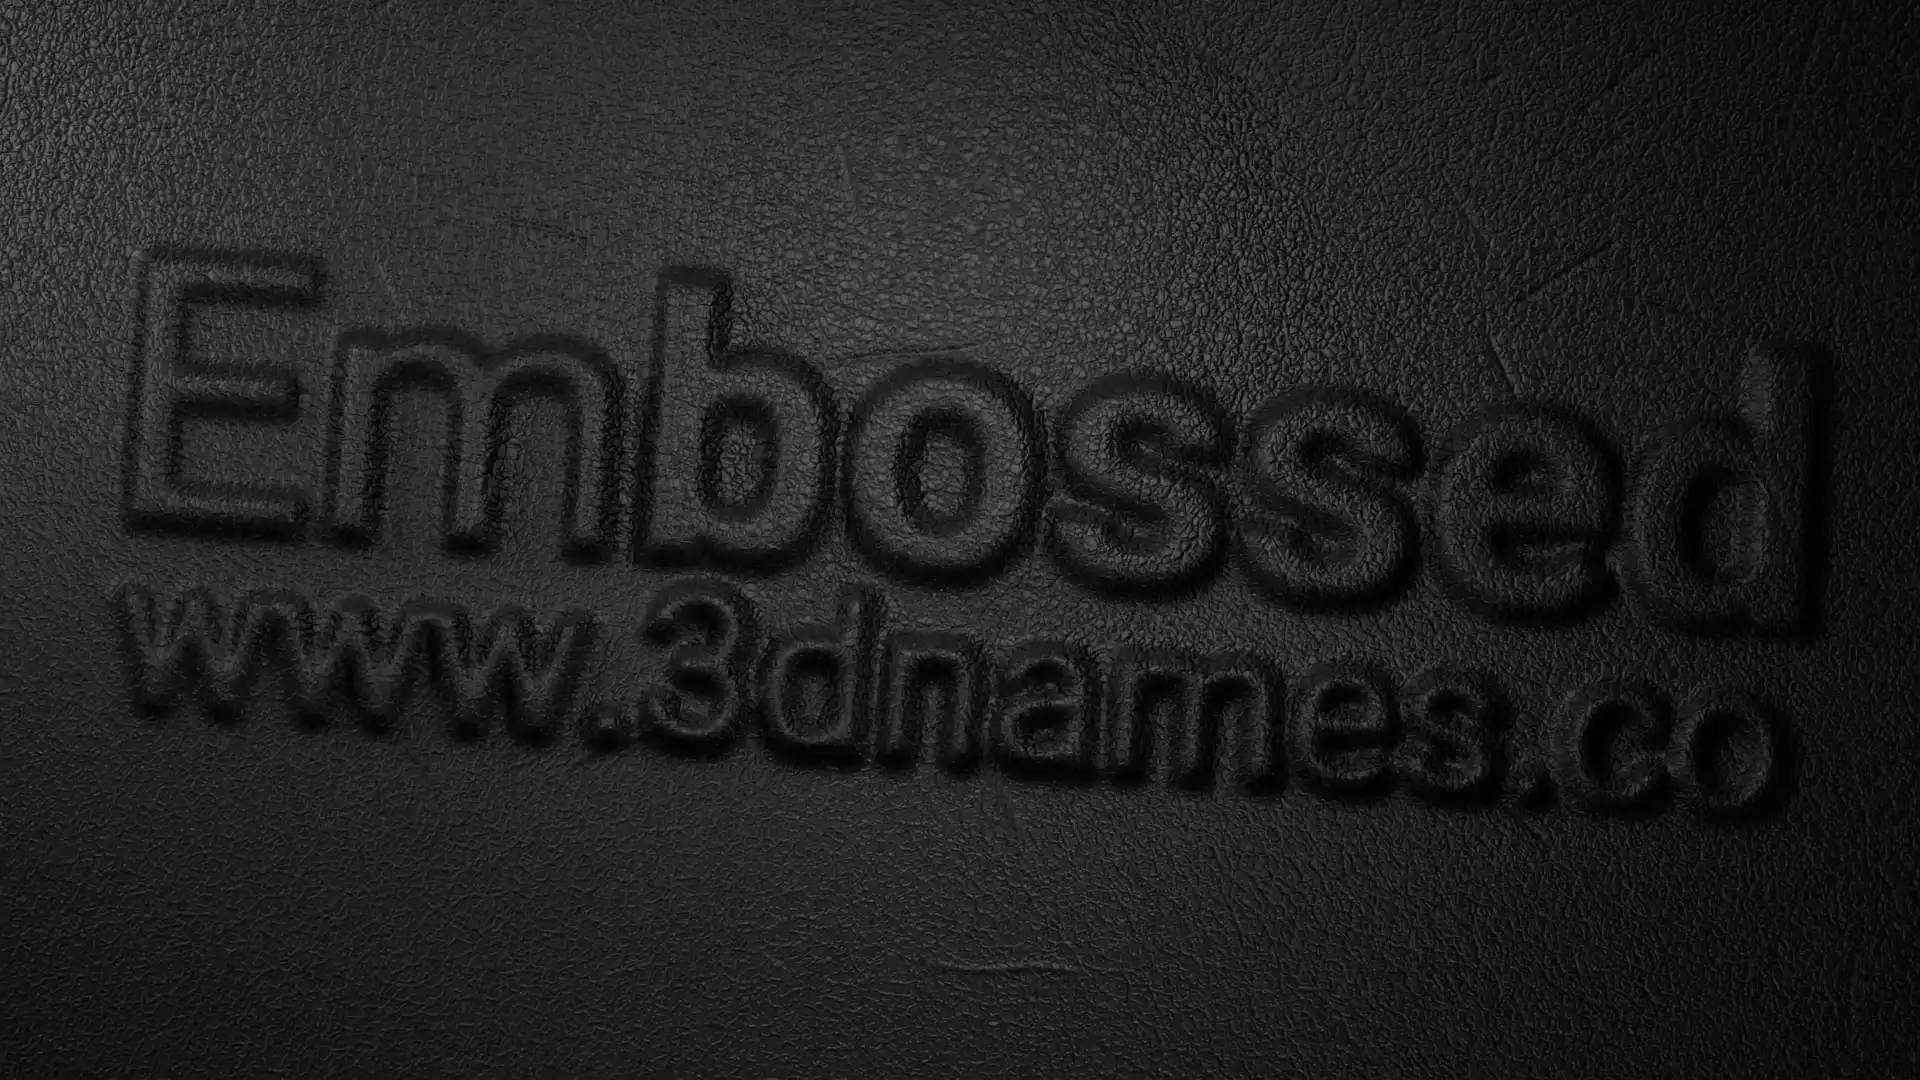
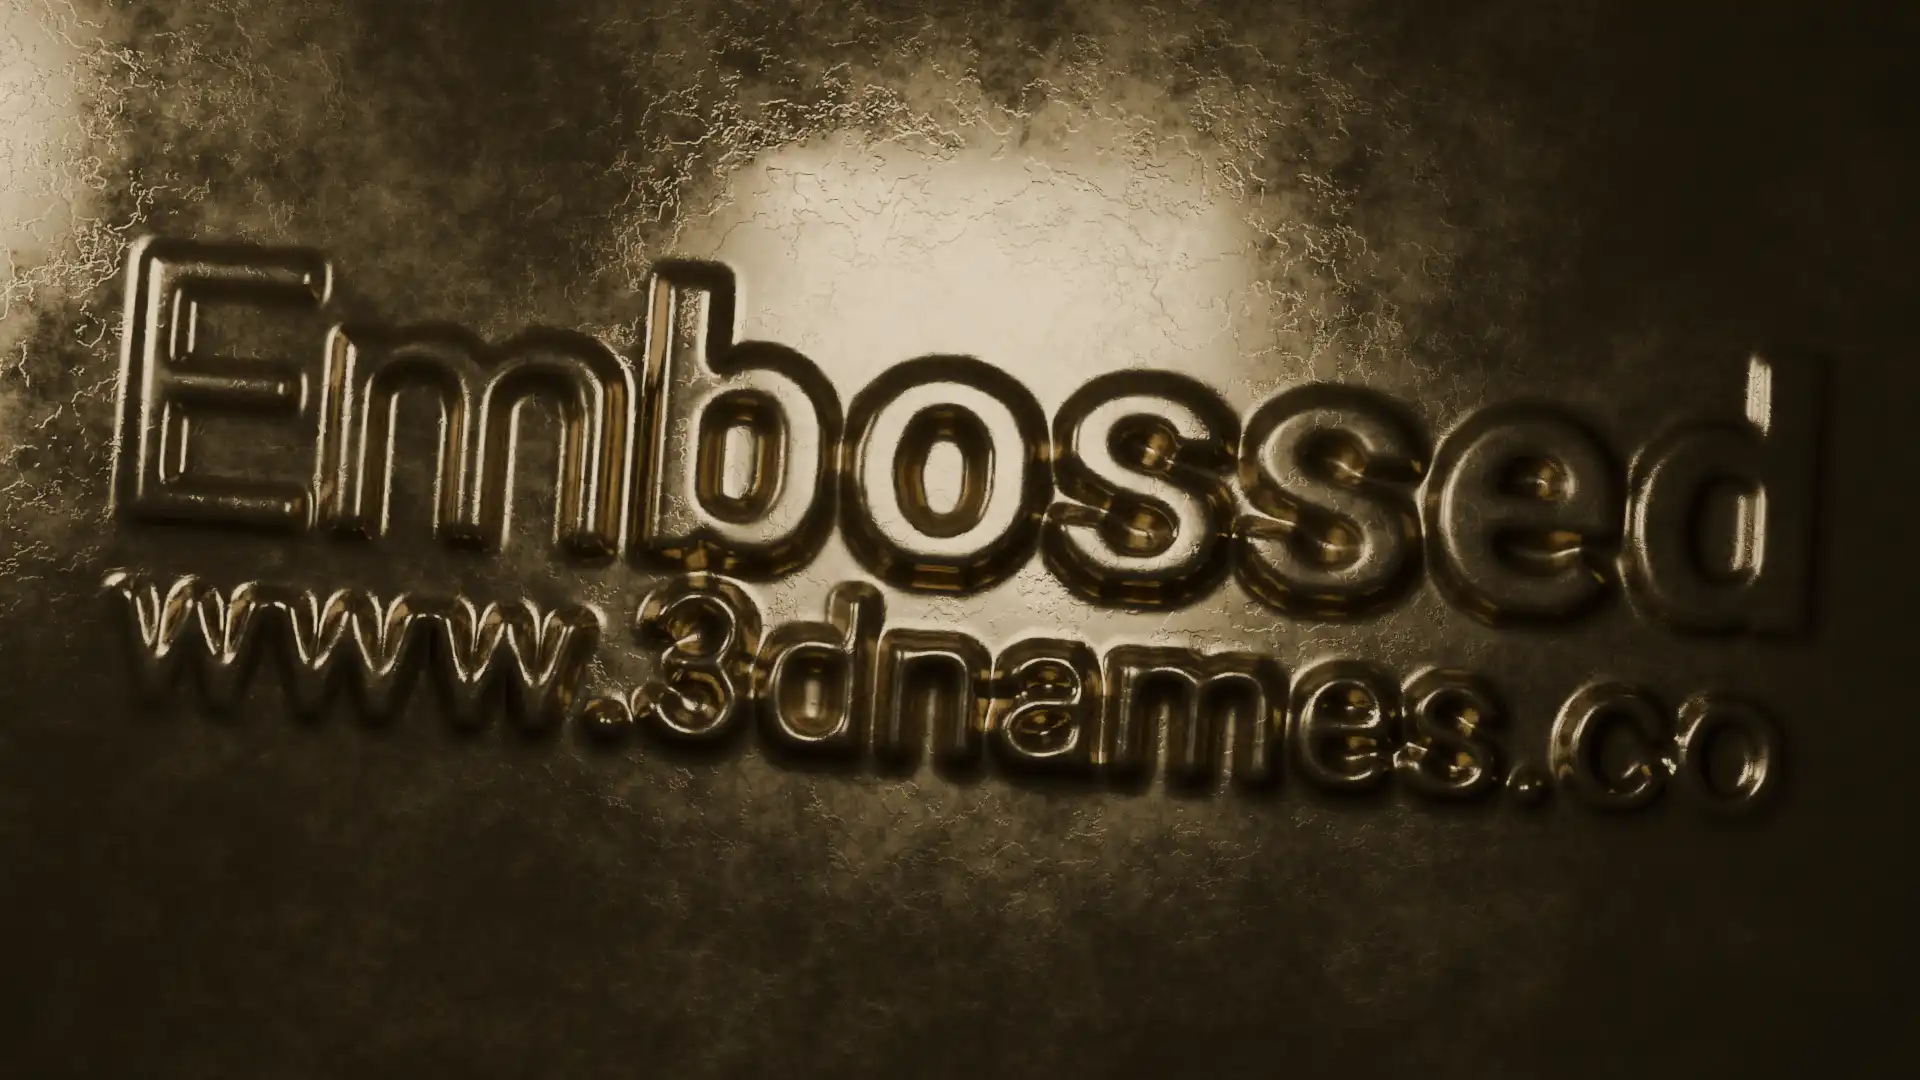
Turn your PNG frames into a Video
To turn your rendered PNG frames into a video, please take a look at the following Video Render Tool guide

