Creating your own Custom 3D Name Wallpaper
Want to try creating your own 3D Name Wallpaper? Then this blog article with guide you through exactly how to do it!

Method 1 - using this website
So, it's pretty obvious to say this, but if you want to create a 3D Names then, duh, of course the first place you'll try is the very website you're reading this blog on!
We have generated millions of wallpapers already for you, and if you go to the search page and search for your first name, then hopefully from the 100,000 names available your name will give you some cool wallpapers back!
...however, if you're name is too unique and we don't have it, then here is the next solution:
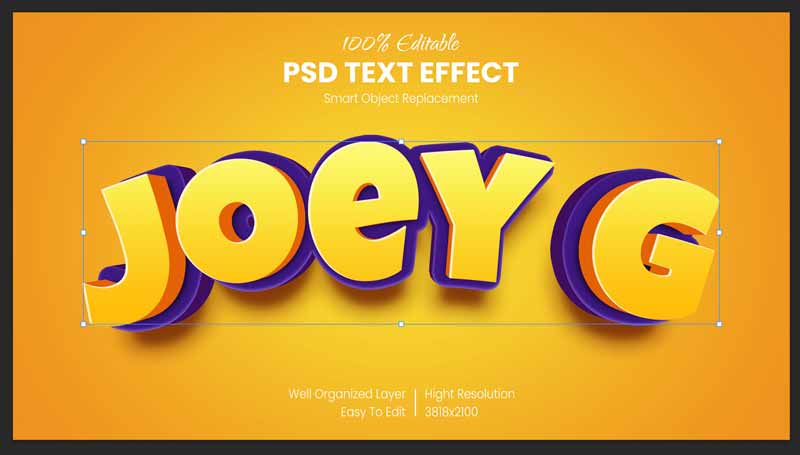
Method 2 - using PSD Files
Go take a look at the Envato Market - here you'll find hundreds, no sorry, thousands of designs to choose from. Many of which are PSD files that are editable within Adobe Photoshop
In this tutorial we are going to make use of a PSD Template called Cartoon Photoshop Text Effects - Comic Styles - this template is a PhotoShop PSD file that you can purchase and edit within your own software.

So first download your file from Envato once you've purchased it, then next up we want to get hold of the font used.
This template is using a font called "Luckiest Guy" - and we are a lucky guy (or girl) because we can get this font for free from Google fonts - Luckiest Guy - so download this font and install it onto yur system (Otherwise we'll get warnings when we go to edit it the PSD)
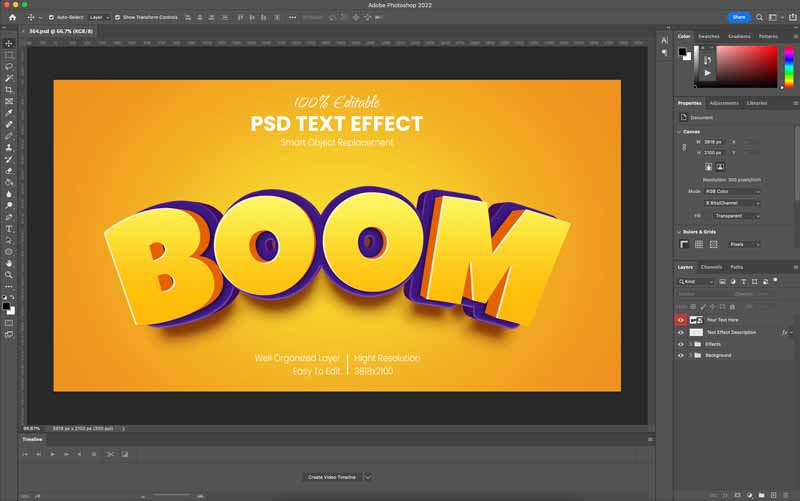
Back at our main download file, Unzip it, as this will contain our PSD files we need to use. There will be 5 PSD files along with 5 jpg files. Lets open the file called 364.psd:
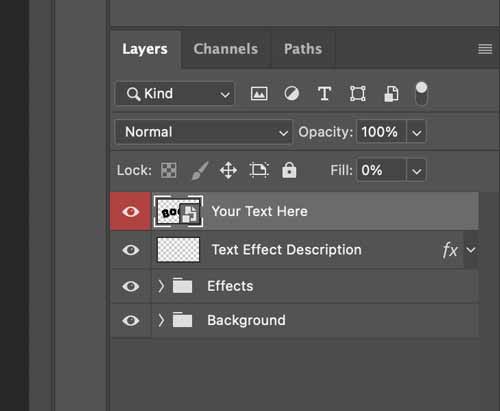
If you look in the Layers section, you'll notice there is a layer called "Your Text Here":
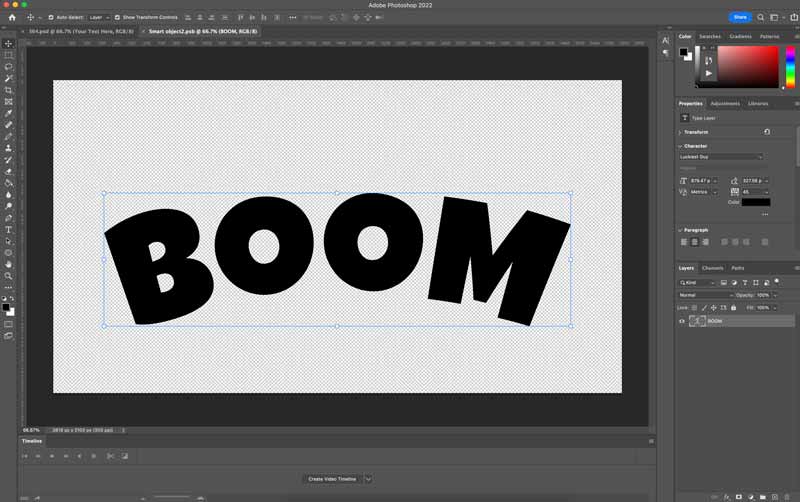
Double click the icon and it will open the Smart Object within a new tab, and from here you can edit the text object, feel free to type whatever you want, and you can resize the text or re-position it to where ever you feel works best:
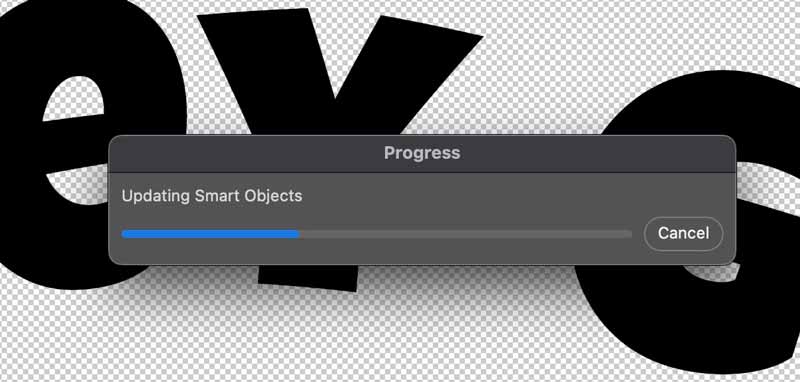
Now in order to get the new text updated within the template file we'll need to save this smart object, so go to File -> Save - and depending on your machine this may take a few seconds or a few minutes:
Once it's saved, go back to your first tab and hey presto, you should now see your updated Photoshop file with your own text added!
...and that's it! You are now able to create your own 3D Names with absolute freedom to edit the design to your pleasing!
Enjoy!